Here is an oldie but a goodies that I never published on my blog. It’s amazing the things you find when you are searching through your drafts.
Today we are making Silk Dyed Easter Eggs. A sophisticated alternative to the neon eggs in little cups that die your hands and everything else for a week!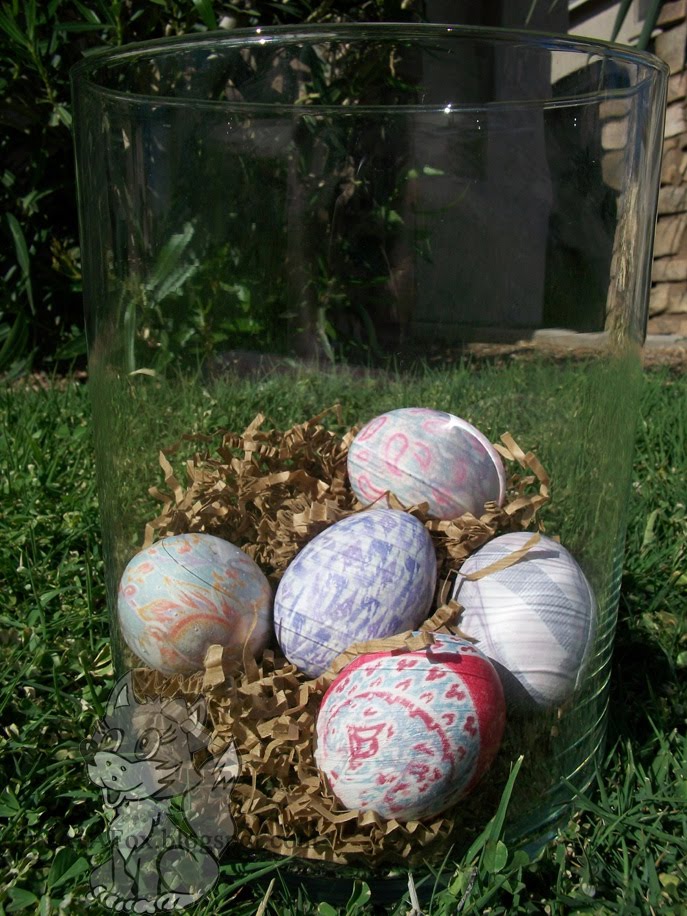
Before we begin with the tutorial I want to give you some tips on picking out your material.
- Pick really saturated colors. Reds, purples, dark greens, dark blues. As you go through the dying process, the colors get washed out, so the darker you start with the better.
- Remember that you are dying a small egg, so a big pattern might not be the best fit. You will only get a small piece of it more than likely. I personally think small geometric patterns turn out best.
- Get your ties at a thrift store, garage sale, or back of your closet(just make sure you ask first!).
What you need:
- 100% Silk Ties, scarfs, shirts, anything you don’t mind cutting up
- Vinegar
- Eggs
- Twist Ties or something to tie off the eggs.
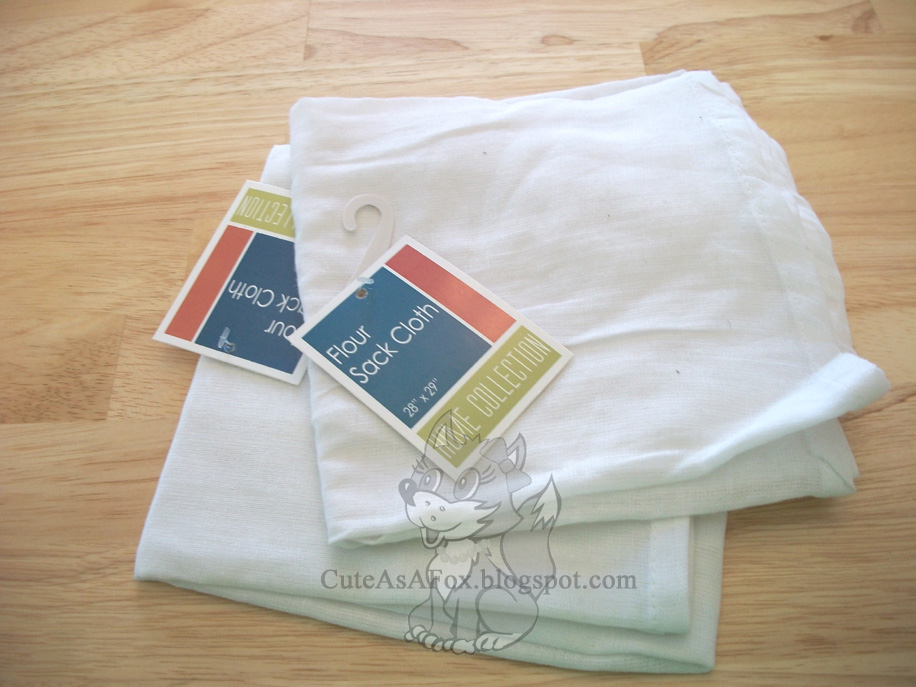
- Flour Sack Cloth or some kind of white material. Old sheets, pillowcases, or whatever scraps you have will be fine. I bought mine at the Dollar store and 1 was enough for 12 eggs.
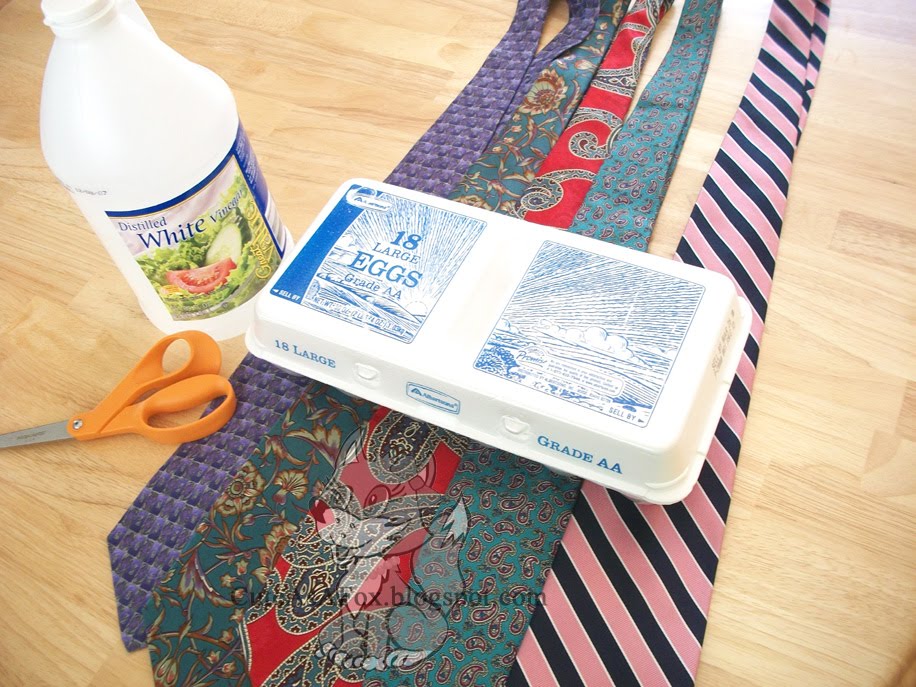
IMPORTANT: Your ties must be 100% silk. There should be a tag at either end of the tie which let you know what it is made of. If there isn’t a tag, don’t get it. I found some ties I thought would be just awesome at Goodwill but they either didn’t have a tag or were polyester.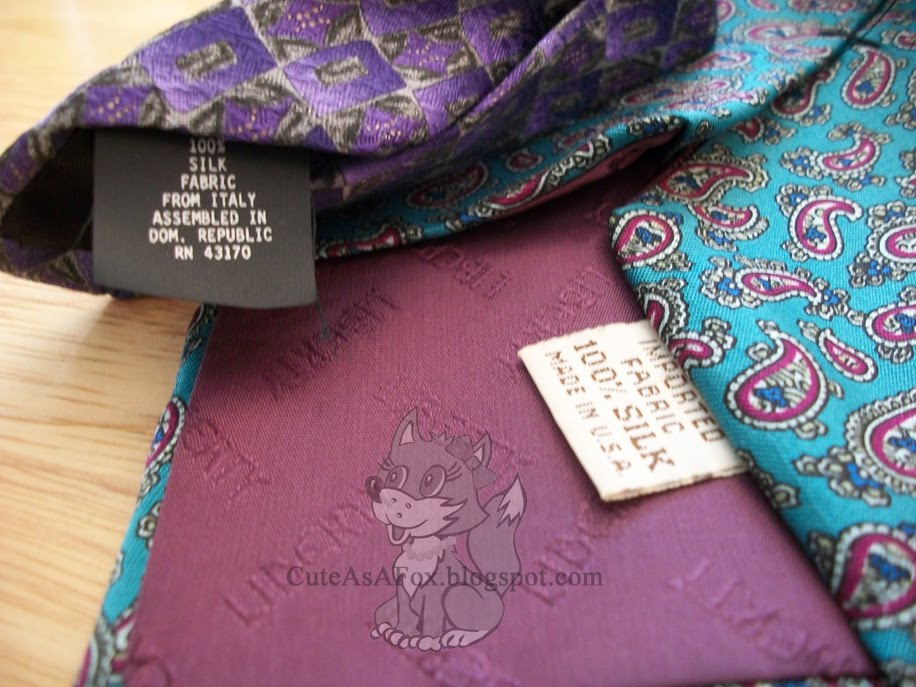
Step 1: Disassemble your ties. Remove the center stitching, any tags, and all of the guts of the tie.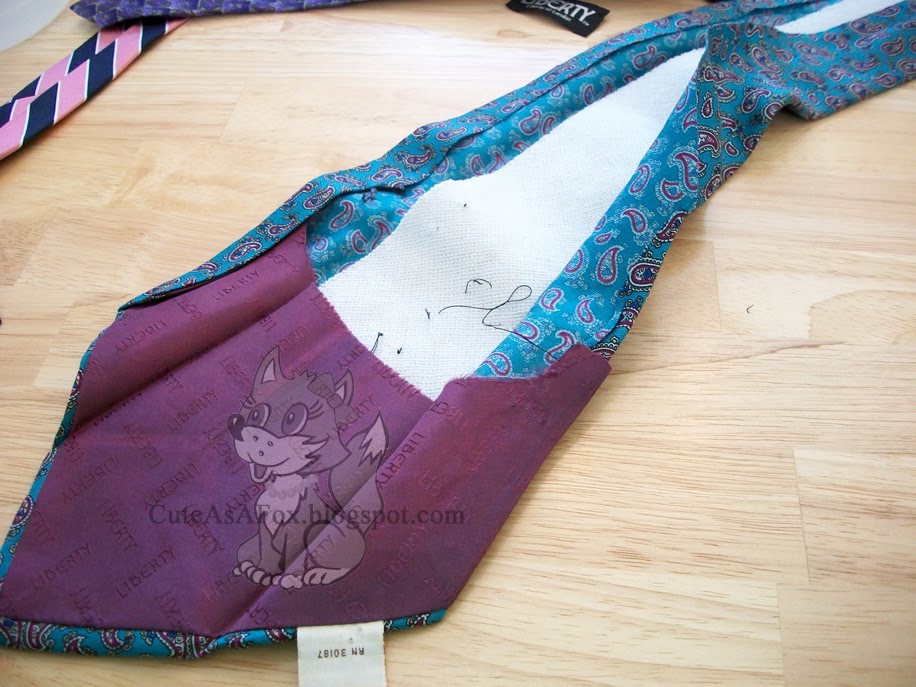
Step 2: Cut off a section of tie big enough to cover your eggs and give you enough room to twist it off at the bottom of the egg. You can get at least 2 eggs per tie, possibly 3.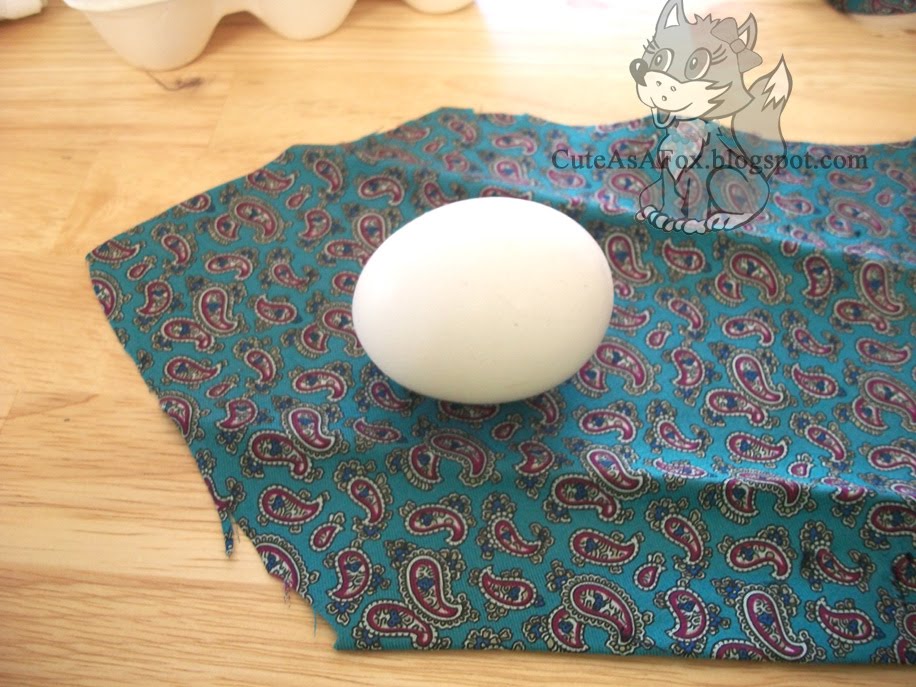
Step 3: With the TOP of the material FACING the egg, wrap the egg as tightly as possible without breaking it.
I like to make sure the “top” or narrower part of the egg is at the bottom of my little pouch. The design usually comes out the best there.
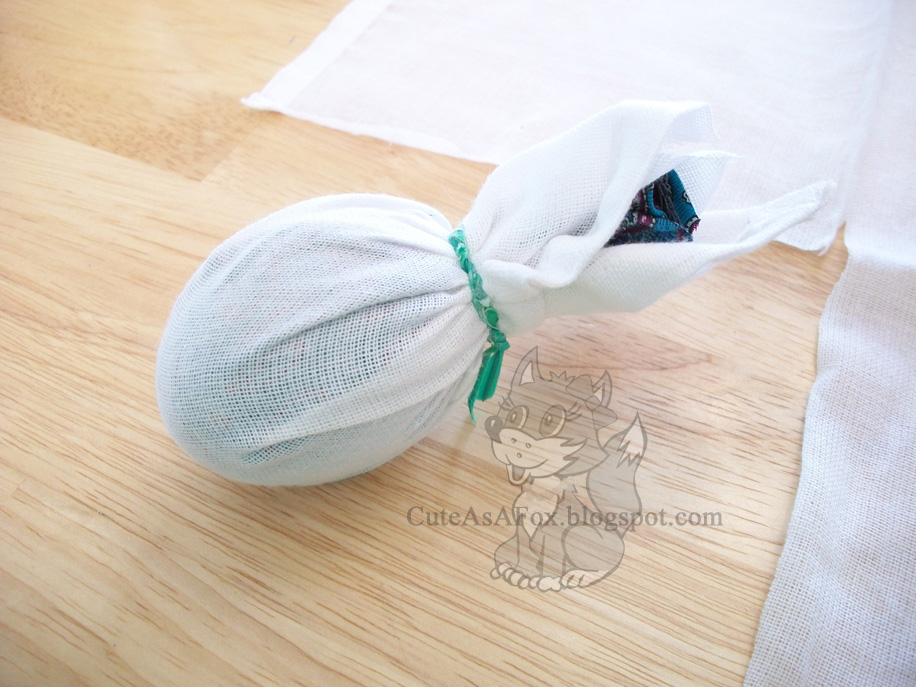
You are going to have to fold over and tuck parts a little bit. Those areas will turn out a little lighter and the pattern probably won’t come across as well.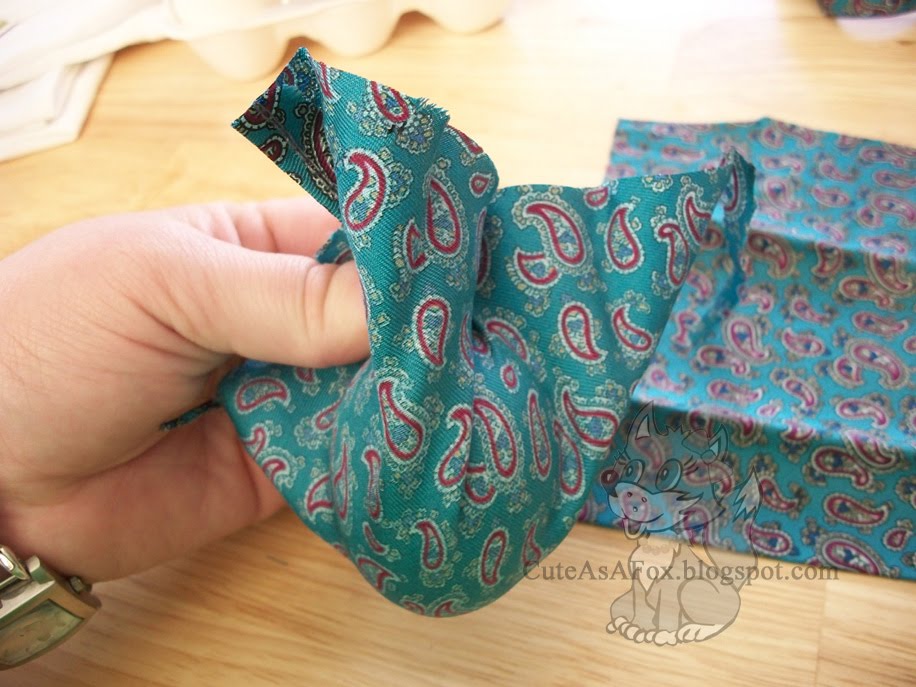 Step 4: Wrap your egg package in your light colored material and twist tie off at the top.
 Here is one egg all ready to hit the hot tub.
 Step 5: After all your eggs are wrapped, put them in a pot of water with 1/2 cup vinegar. Bring to a boil and cook for 20-30 minutes.
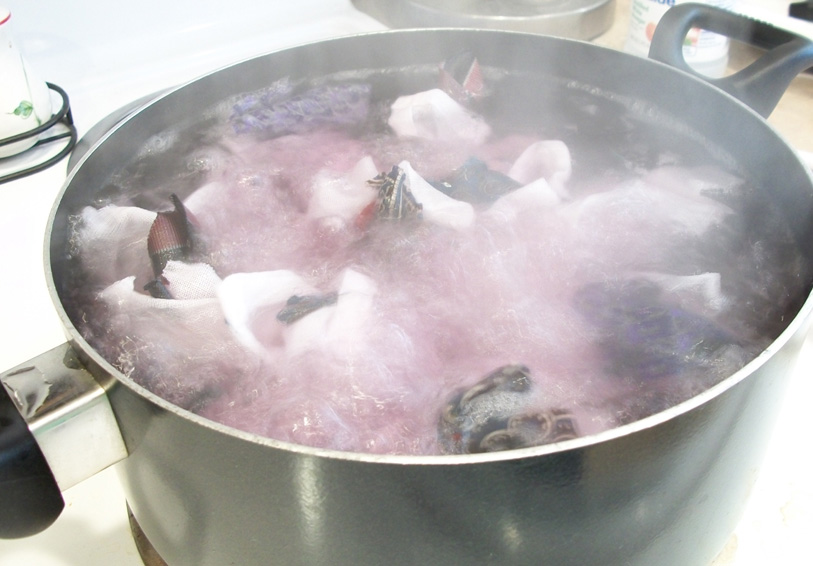 Step 6: Remove from heat and allow to cool. They just need to cool long enough so you don’t burn your hands off trying to unwrap them. It’s a little like waiting for Christmas morning. 🙂
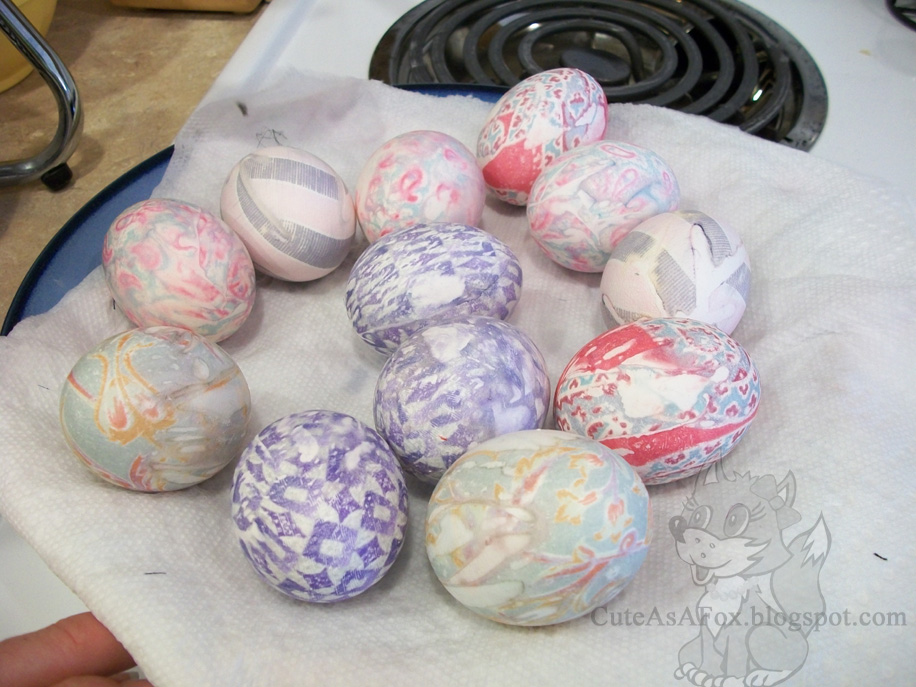
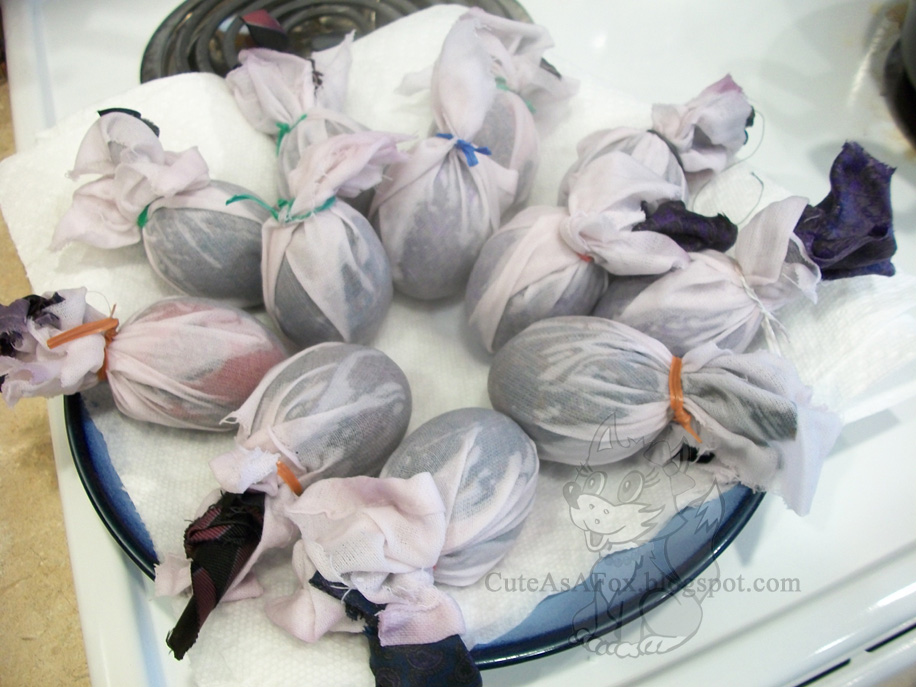 Tada! Here they are.
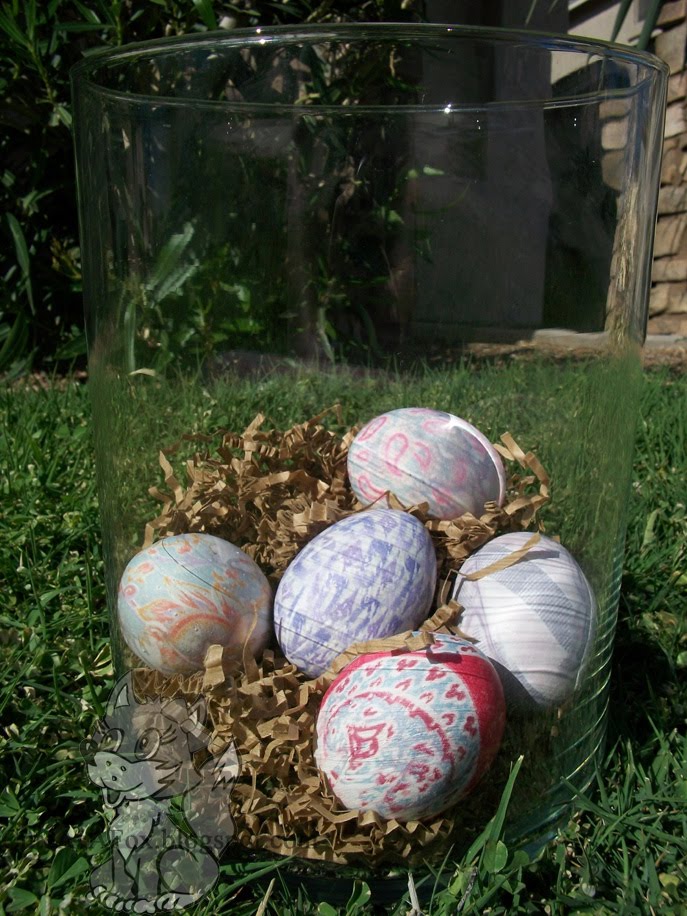
 I picked a few of my favorites and put them in a vase with some brown paper shred. You could make up a very nice centerpiece for your holiday table.




That’s crazy! I had no idea it would transfer like that!
What a great idea!
These eggs are gorgeous! This is genious!
My daughter did theses and they turned out really nice.
I have never heard of this method for Easter Eggs. It’s fabulous and I have to try it.
Oh! These are amazing and stunning!
–Gypsi
What an awesome idea!! Thanks for sharing! Total going to try this next Easter.
They are beautiful! I can’t wait to try this!
Great idea! Thanks for sharing!
Easter isn’t too far away now. This will be perfect. My step daughter will absolutely love making these with me…..time to go to goodwill to find some silk ties for our project. Looking forward to making these, yours turned out great!
Love how feather one turned out – will try with next year.
Zespri New Zealand Kiwi fruit website