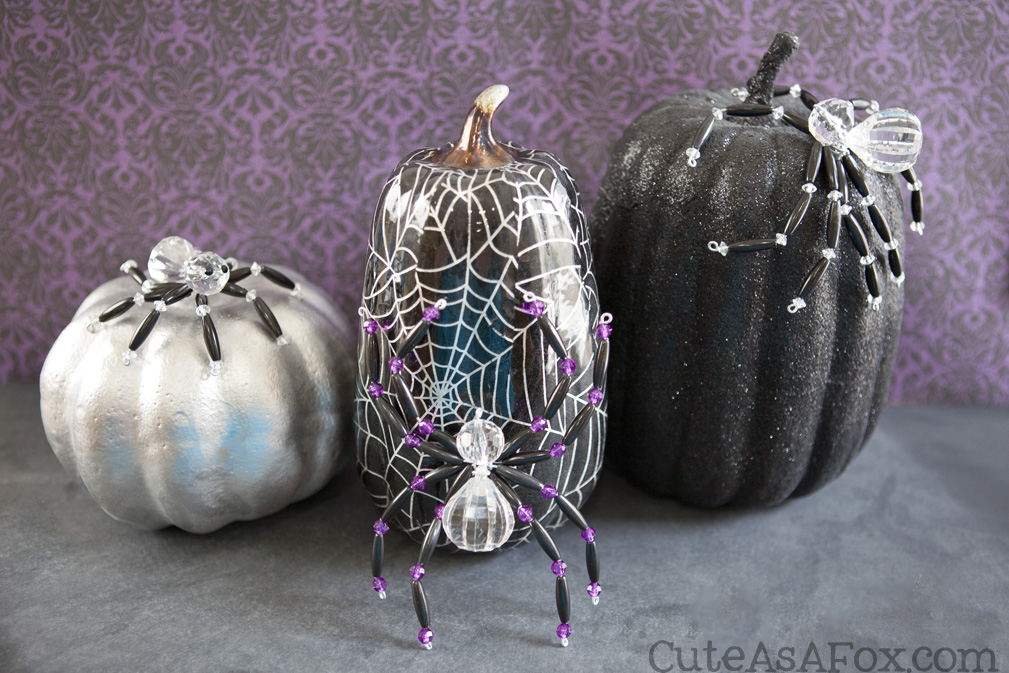
It’s Craft Lightning time, Halloween Edition! I have so much fun coming up with crafts that can be done in 15 minutes or less. Today, I decided to recreate a pretty beaded spider I saw in the craft store. I wanted to see if I could create a version with readily available supplies. Well, I love how these beaded crystal spiders came out! They are a perfect addition to your Halloween decor.

Beaded Crytal Spiders
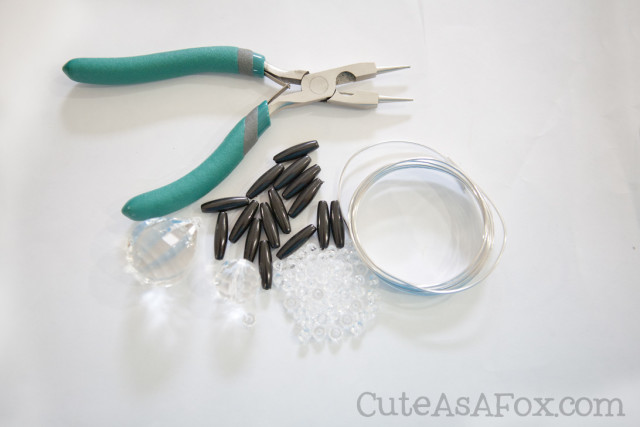
- Cut four 8 inch pieces of aluminum wire with the cutter on the jewlery pliers. Use the round nose of the pliers to bend one end of the wire into a loop.
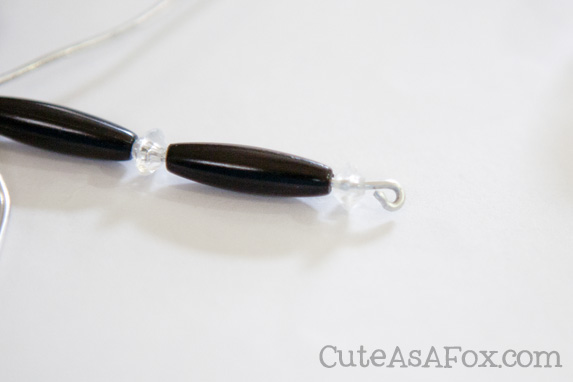
- String the beads onto the wire in the following order: rondelle, spaghetti, rondelle, spaghetti, rondelle, spaghetti, spaghetti, rondelle, spaghetti, rondelle, spaghetti, and finally rondelle. Add a loop to the other end of the wire. There should be room for the beads to move around on the wire. This one piece of wire will be 2 spider legs.
- Repeat step 2 with the other three wires.
- Push the beads for each leg to their respective end. This should leave a space in the middle. Wrap the center of one wire around the center of another wire. You want it wrapped tightly, but it's okay if things can move around a bit.
- Repeat until all the wires are wrapped together. The spider should now have 8 legs.
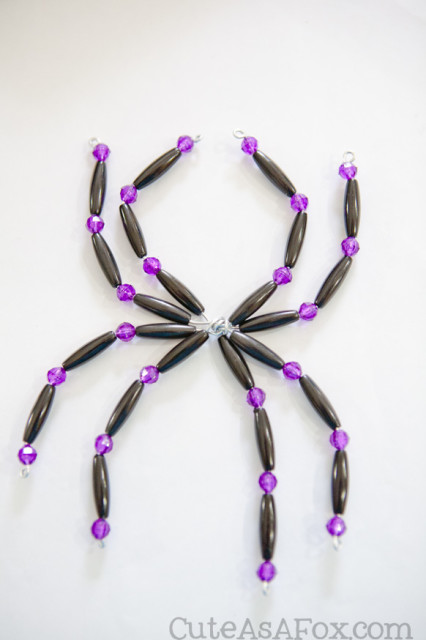
- Bead the spider body on a 5" piece of aluminum wire. Twist the wire once to secure. Add the bead for the head on top of the body. Add a loop to the end of the wire to secure the spider head bead in place.
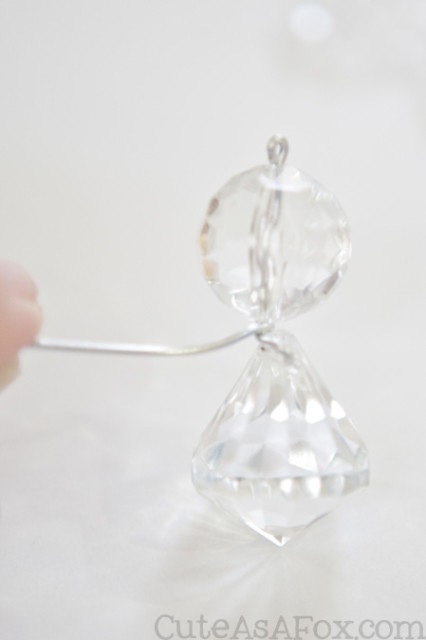
- Take the loose end of the wire and wrap several times around the center of the spider legs to attach the spider body to the legs.
- Gently bend the legs to get the shape that you want. The spiders look great standing or laying flat.
- The beads I used for the body were called "Clear jewels." I found them in the floral section of Walmart. I saw similar jewels at Hobby Lobby in the Christmas craft supplies. You definitely want to find jewels that have holes to string the wire through.
- For a medium sized spider, use 5" pieces of wire for the legs and only use two sets of beads per leg.
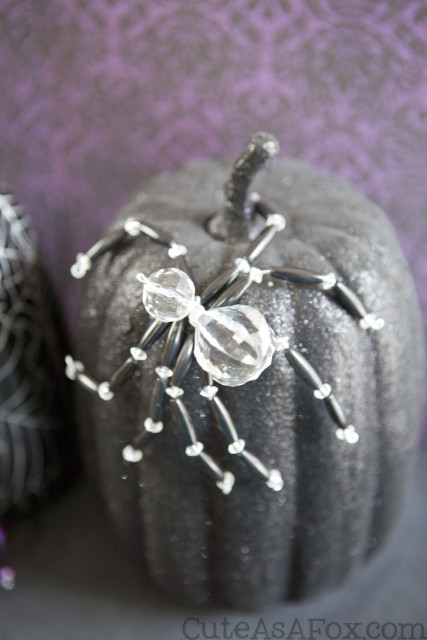
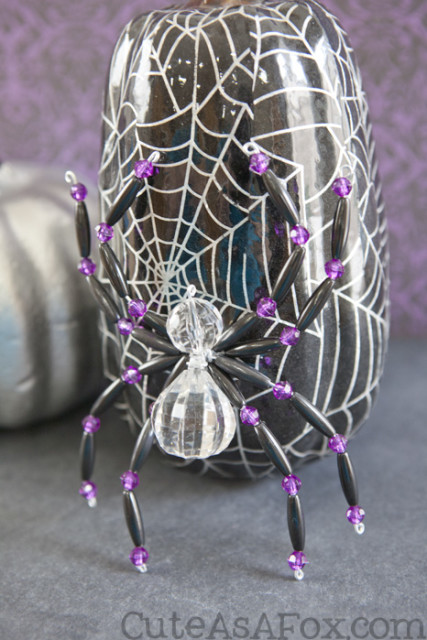
I just think they add so much to my pumpkins. Here’s some close-ups of each spider. The wire legs are so great for helping you just the right positioning. The little loops on the end of the legs and head would be great for hanging the spiders too!
I really love the black and purple combo together. The purple really makes the beads stand out. Those beads were multi-faceted and were rounder than the clear rondelle beads.
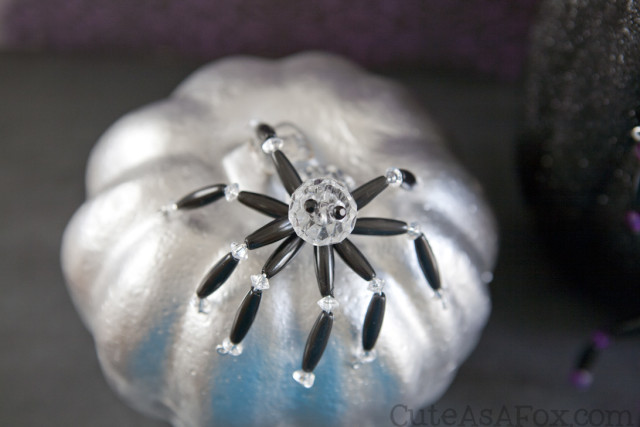
I also tried out a medium sized spider. I noted the changes I made in the directions. I had some black rhinestones so I thought I would see how the spider looks with eyes. I like it both ways, but I think it looks a little more sophisticated without the eyes.
This craft really got me in the Halloween spirit. I love creating for fall and Halloween. It’s my favorite time of year!
Don’t forget to check out my Pipe Cleaner Spiders, they are perfect for kids!
Want more awesome quick crafts? Check out all the other bloggers participating in Craft Lightning. There are some great projects!




These are great! Thanks for joining!
These look great!!