One of the big hits at the #DisneySide party was the photo booth. I’ve never done a photo booth at a party and it was surprisingly easy. I’m excited to share how I did it and some of the lessons I learned.
DIY Disney Photo Booth
Supplies:
- Backdrop Stand – My stand isn’t this brand, but it looks pretty identical.
- 3-4 Spring Clamps – Clamps from the hardware store should work too.
- Photo Backdrop – I used a gray chevron vinyl tablecloth fabric from Joann
- Sand bags
Set-up
- The backdrop stand is pretty much two tripods with a pole that fits between the two to hold the actual backdrop. There are DIY options to make your own stand but when you get one for about $40 I think it’s worth it to just purchase it. Between supplies and time, the $40 is worth it.
- Adjust the height of the stand to where you want it. We set ours at about 6.5 feet tall. Use the clamps to attach the backdrop to the bar. I only used two clamps, one on each end, and over time the middle started sagging. I didn’t always catch that it was sagging and you can tell in some of the photos. Make sure you do at least 3 clamps, possibly 4 to make sure it isn’t going anywhere!
- Place sandbags on the bottom of the back drop to keep it in place. The last thing you want is your backdrop swaying in the breeze.
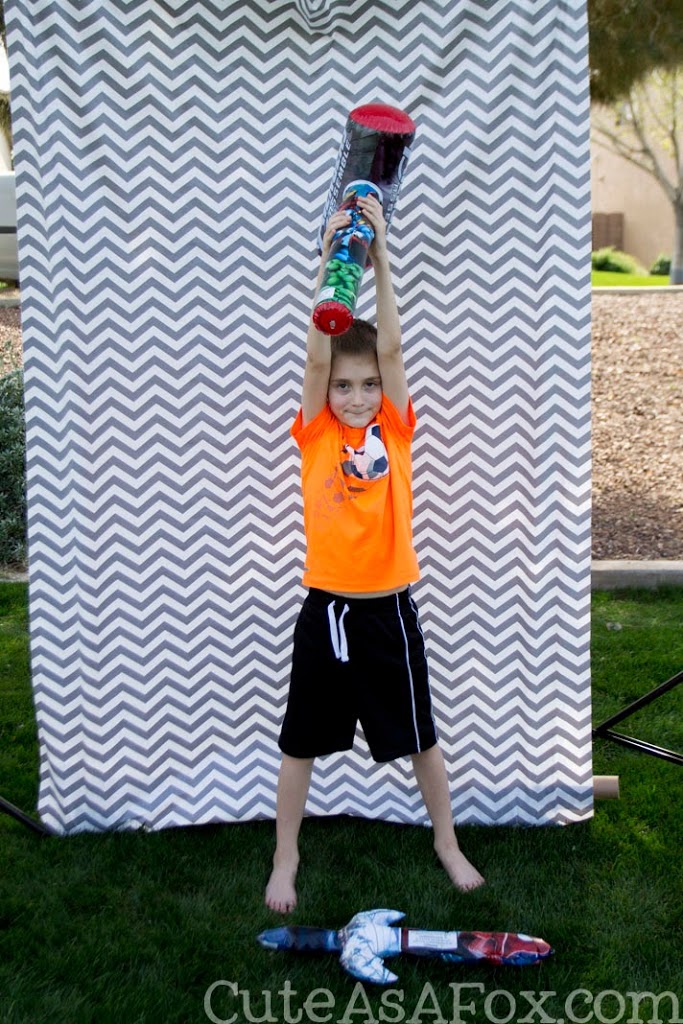 |
| This is indeed what February in Arizona looks like! |
A note about the vinyl tablecloth. It was 54″ wide which was perfect for 1-2 people. Any more than that and it just wasn’t wide enough. Next time I’ll double the amount of fabric and sew two pieces together. You could also purchase actual photo backdrops or use upholstery fabric. Both of those options were more expensive and I was trying to stick to a budget. I got the vinyl for $3/yd with a coupon so it was totally worth it, even though it limited us a little bit!
Now let’s talk about the most important part: Photo Props!
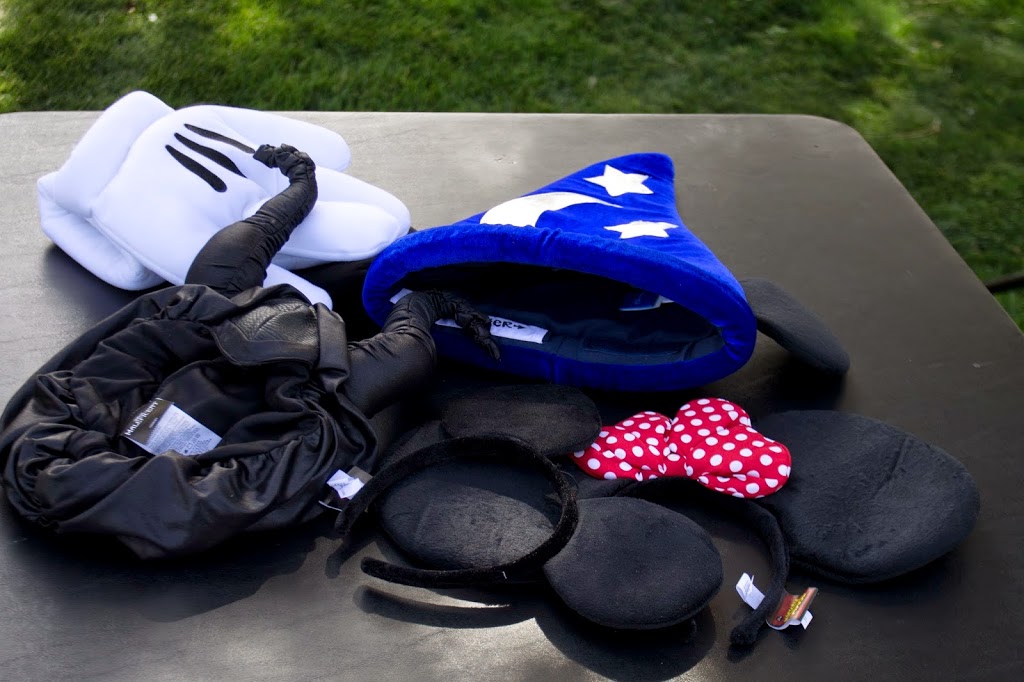
PureCostumes.com provided some of the photo booth props for review. The thoughts and opinions expressed are my own. When I reviewed the PureCostumes.com website I was overwhelmed by the amount of choices. They had so many amazing Disney themed items that would have been perfect for props. I ended up choosing:
PureCostumes.com wanted to do something special for my readers. They are offering a 10% discount to anyone that enters code CUTEFOX at check out. How awesome is that? Now you can get shopping. It expires 10/31/15 so use the code for your Halloween costume too!
We had the high quality pieces from PureCostumes.com and then I wanted to add some more prop choices. I picked up an inflatable Minnie Wand, Spiderman Sword, and Thor’s hammer from Dollar Tree.
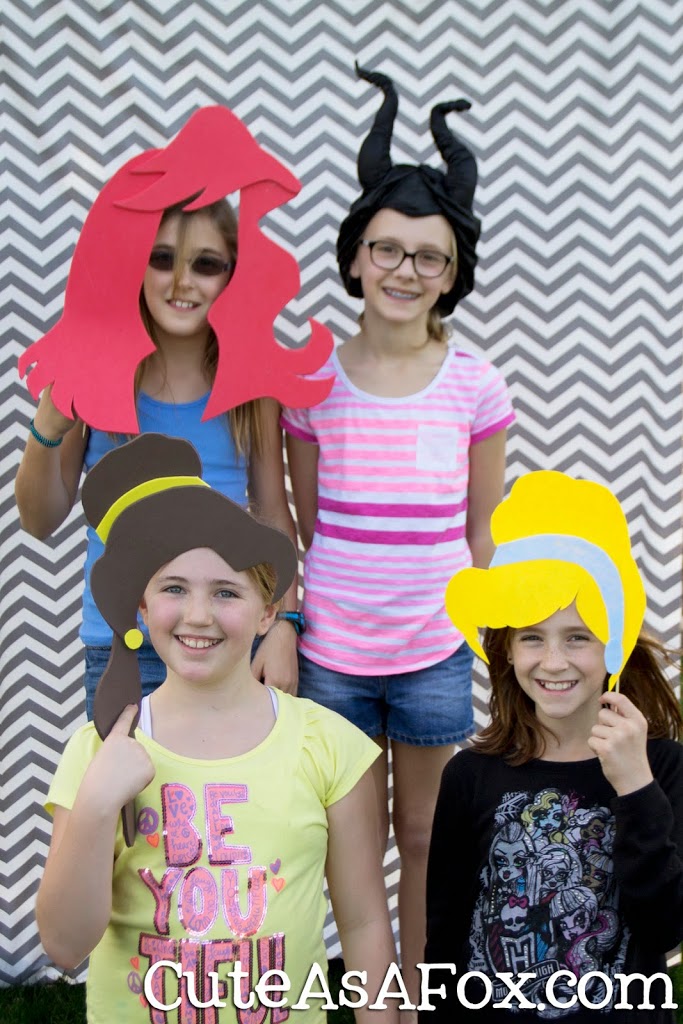
I had seen a photo floating around the internet of some princess hair props. I couldn’t find the original source so I didn’t have much to go on but I was able to create princess hair props for Ariel, Snow White, Cinderella, and Belle. I’ll be sharing the pattern and instructions for those in their very own post, coming soon.They were fun to create and I had probably $2-3 in materials for each of them. It was a very affordable project.
Over all I was really happy with the way the photo booth turned out. I will definitely be incorporating the idea into future parties. The one thing I would have changed would be to have a mobile printer so people could take pictures with their smart phones and then print them out on the spot. I really would love the Polaroid Zip, but it hasn’t been released yet.
What was your favorite photo booth prop? What Disney props would you incorporate to your Disney photo booth? I would love to hear from you in the comments.


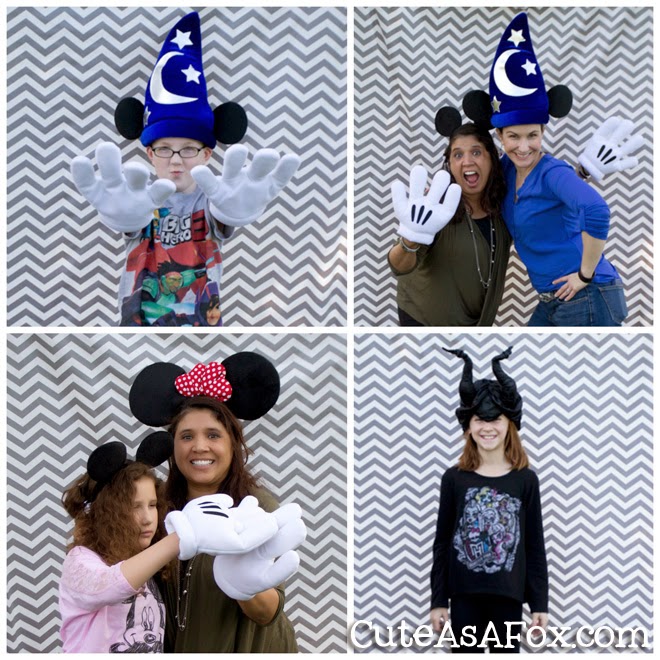

Way super awesome! The photo booth and props are amazing. I’m a sucker for Mickey (I’m marrying him one day. ha!) so anything with Mickey ears makes my heart go pitter patter. I loved the wizard hat. Side note… I had a huge chuckle at the thought of all your big heads. hahaha….
So cute!! Love it.