**Step 9 has been updated and expanded**
This week is Baby week over on Oopsey Daisey. I will be guest posting there on Wednesday! There are tons of baby tutorials and giveaways, so go check it out.
When I was younger my Mother made pajamas and baby blankets and sold them. I have never seen anyone else make a quilt this way, so I thought it would be fun to share. This is a FABULOUS baby gift and great for your own kids. The whole quilt can be done in a few hours, less if you are a speedy seamstress.
Here we go!
What you need:
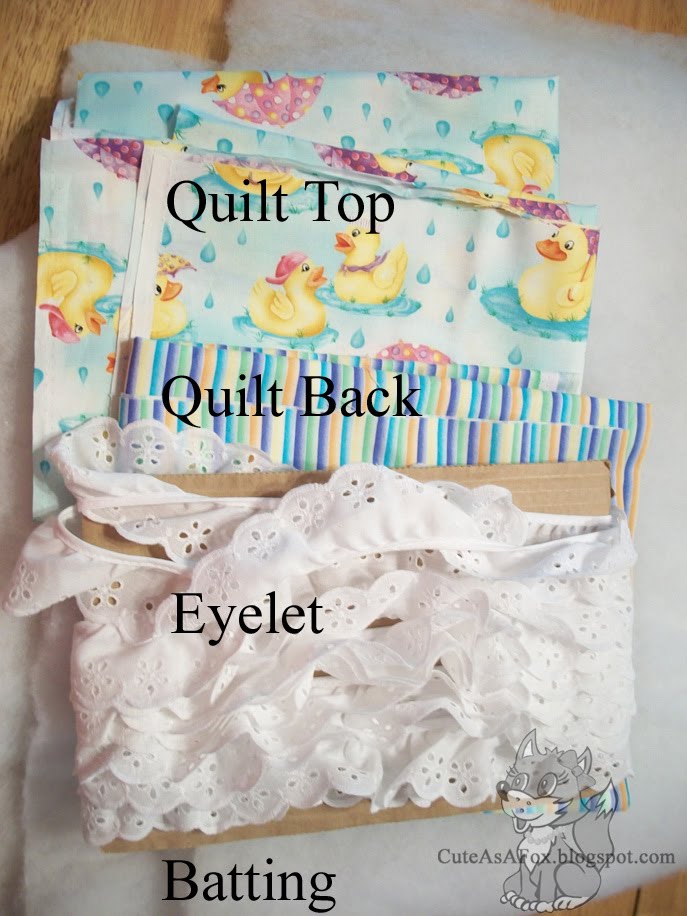
- 1 yard quilt top fabric
- 1 yard quilt backing
- 6 or 8 oz batting on the roll
- 6 yards of eyelet (That will be enough for a quilt and a small pillow)
- Coordinating color of embroidery thread for tying the quilt
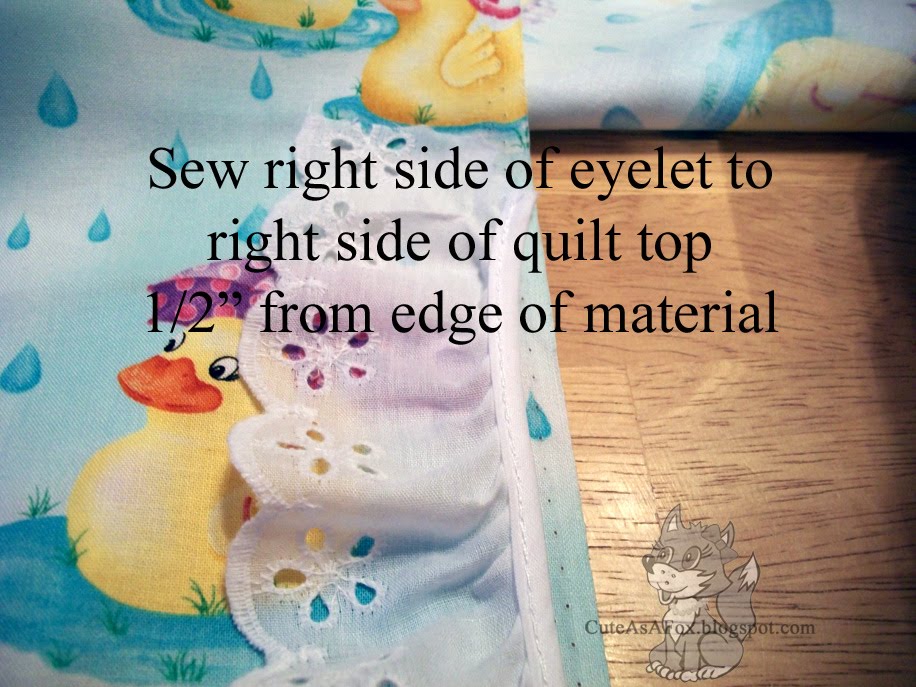
Step 1: Starting on a selvage side, sew the eyelet to the right side of the quilt top.
Step 2:
Step 3:
Step 4:
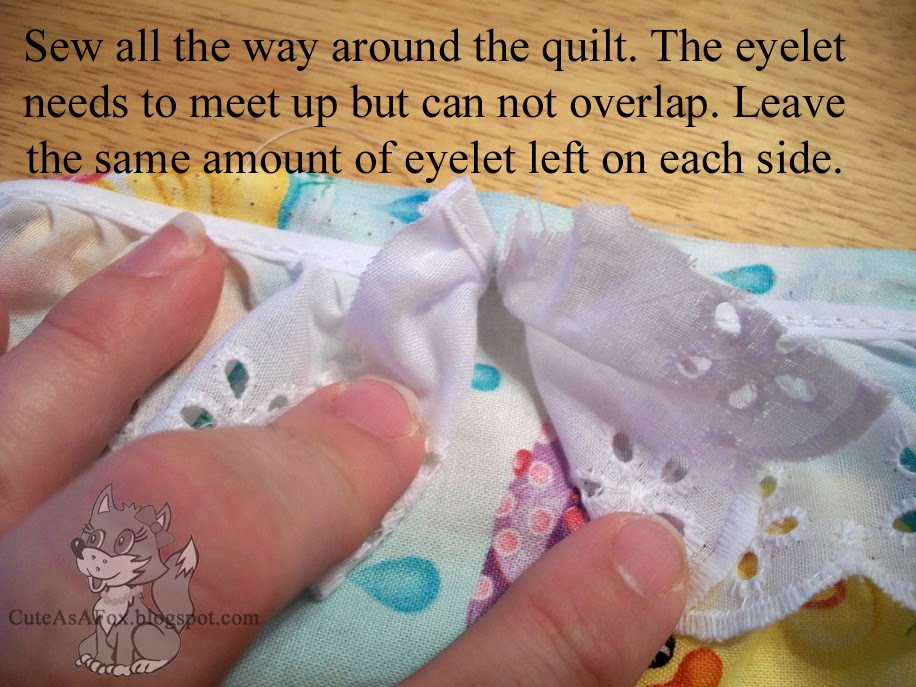
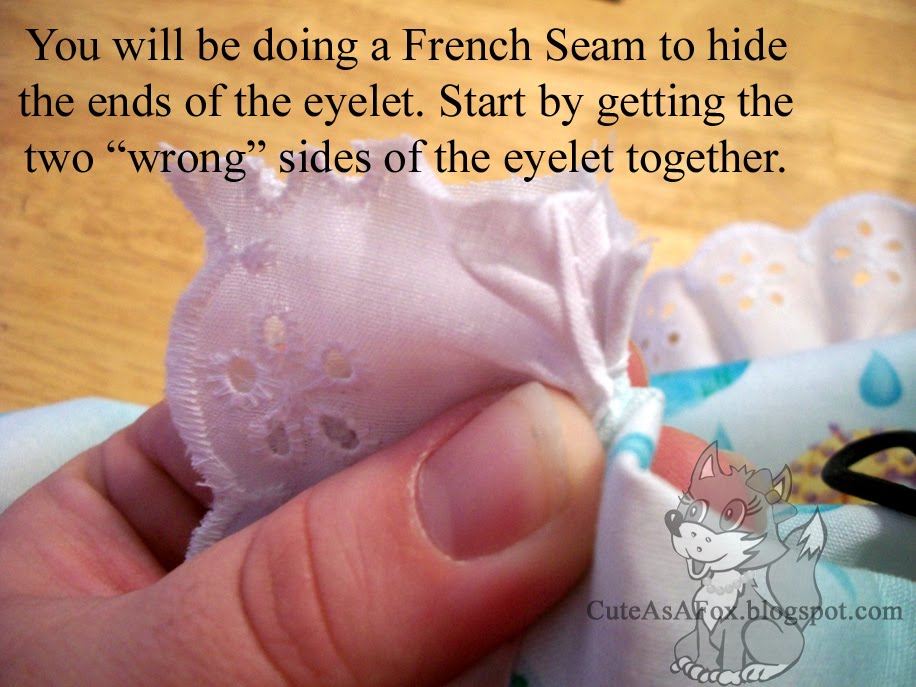
Step 5: After miserably failing at describing a french seam and how to do one, I will refer to this diagram. In essence you are hiding the ends of the eyelet inside of another seam.
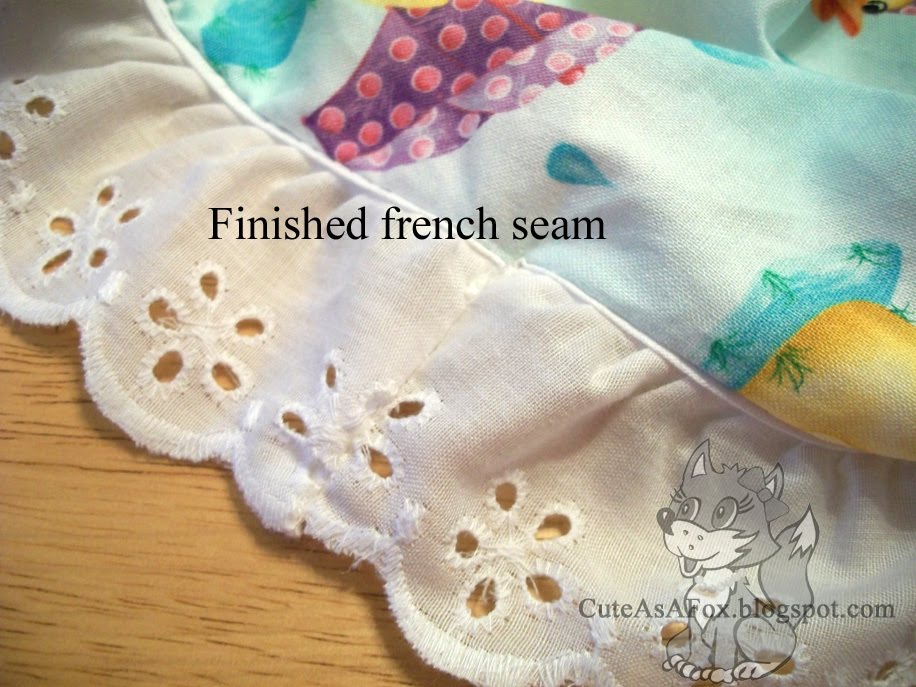
Here is the finished french seam. Looks so pretty!
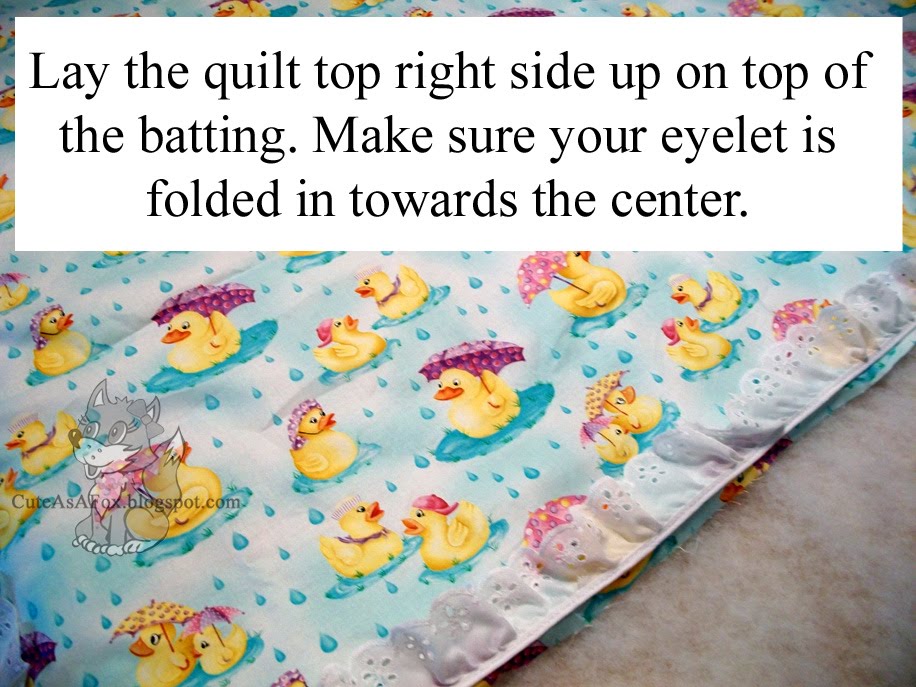
Step 6: Time to assemble the quilt!
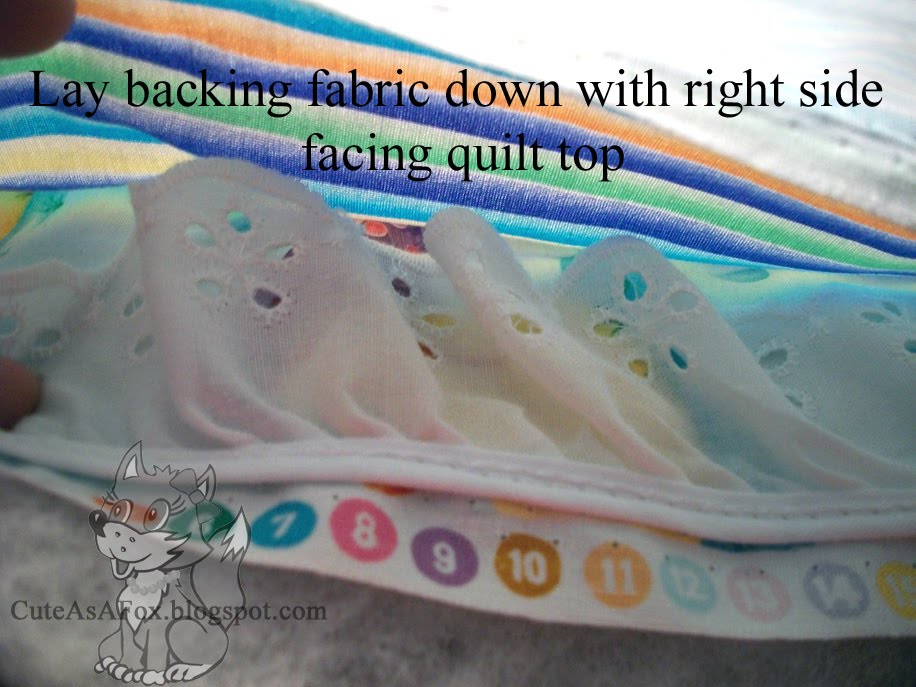
Step 7: (Quilt top sandwich)
Step 8:
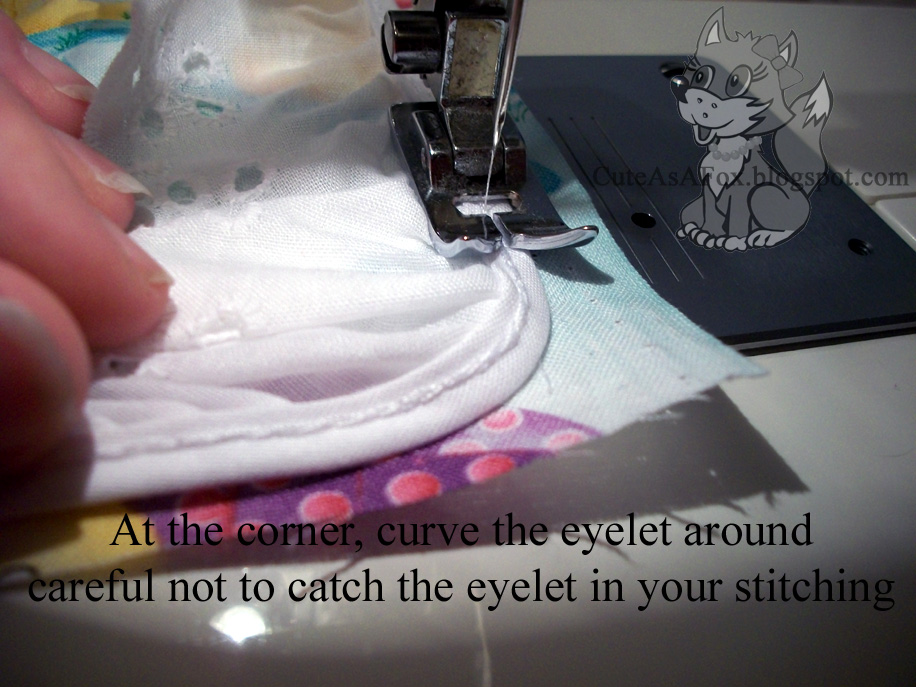
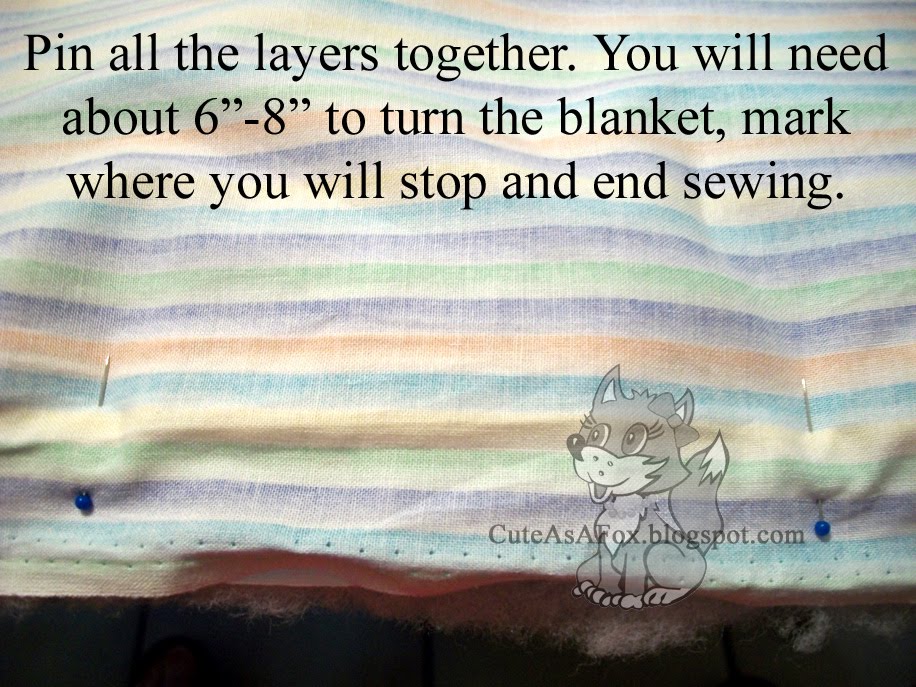
Step 9: Sew around the quilt, make sure you leave your opening to turn the quilt. Be very careful not to get the eyelet caught in your stitching. Every few inches check to make sure the eyelet is free. **Edit: As you are sewing you can feel through the fabric for the binding of the eyelet. You want to be sewing just inside that eyelet seam. This will ensure your first seam is enclosed in the blanket. **First time tip: If you use a solid color backing, you can see through the quilt a little bit to make sewing easier.
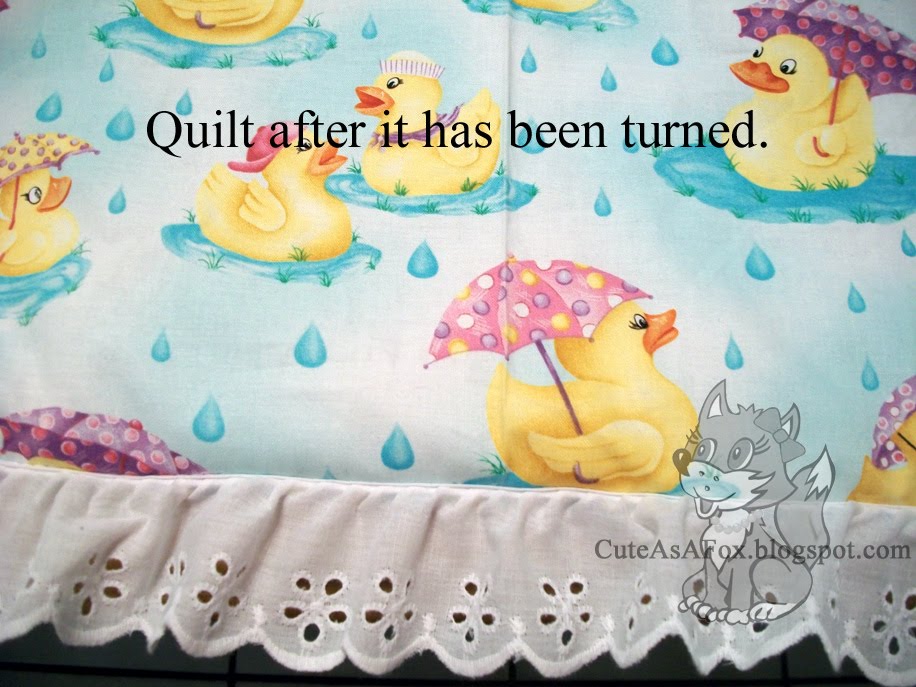
Step 10: Turn the quilt. So cute and almost done!
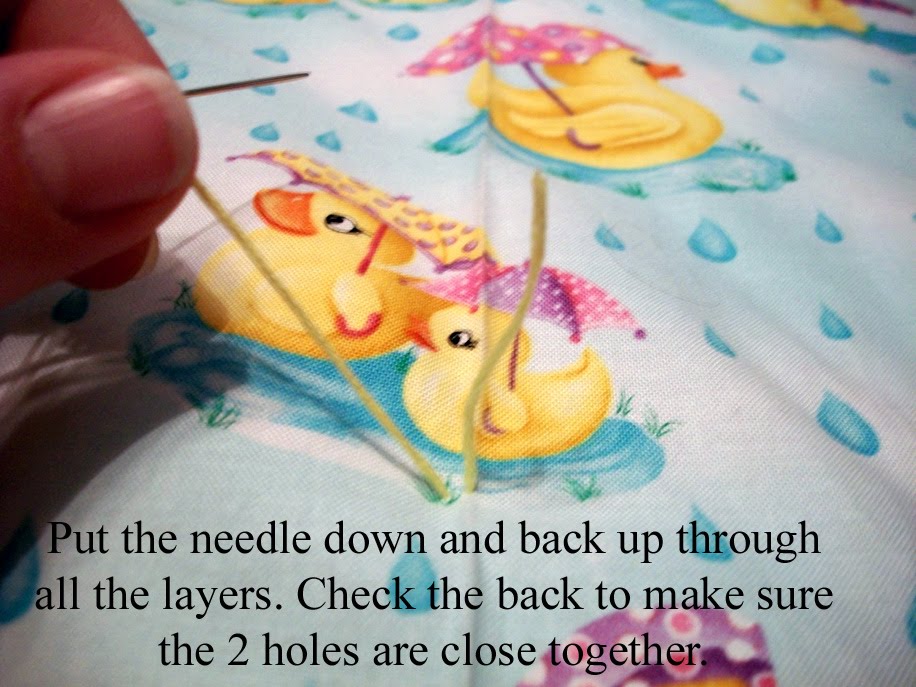
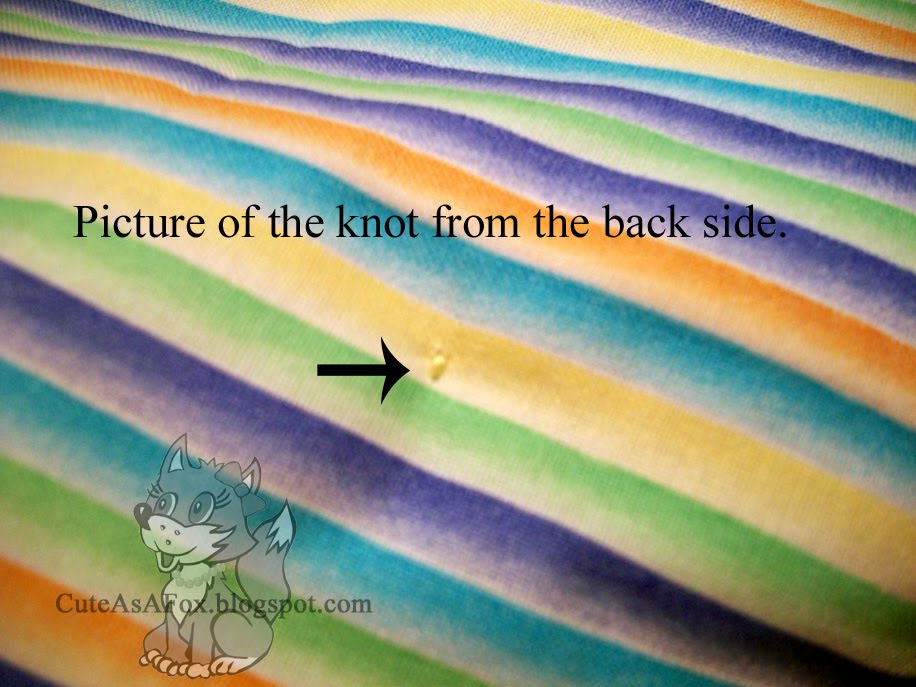
Step 11: Time to tie the quilt. You want to tie either 9 or 12 knots. I did 9. I measured and divided up the quilt to find where I needed to tie. Depending on the fabric you might be able to use the design of your fabric to decide where to tie. Thread a needle with all the strands of embroidery floss.
Step 12:
Step 13:
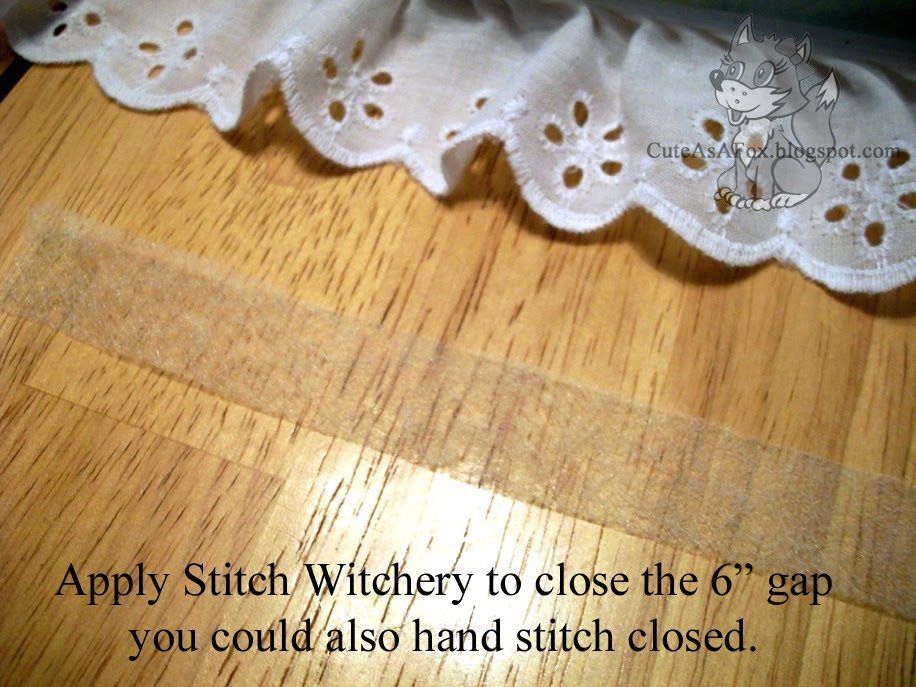
Step 14: Time to close the quilt. You can hand stitch it closed or use something like stitch witchery. The whole blanket is meant to be quick and easy so stitch witchery it is! Follow the directions on the package.
Step 15: Press the quilt and you are done!!
The hardest part is really the french seam and if you are familiar with those, then it is a piece of cake.
Note: If you do happen to get the eyelet caught, you can fix it. Turn it back inside out, unpick that section with a seam ripper and sew it again. Not the most fun, but totally doable.
Please let me know if you have any questions or if you feel I was unclear on anything. I’d be happy to help you out if you need it.








great idea! come link up to making monday marvelous! happy memorial day 🙂
Thanks for the shout-out!! This is an adorable baby blanket, Ashley!!
~Alison
It looks so pretty, and is easy too. Thanks for sharing.
Blessings,
Marcia
Way cute!!
What an adorable baby quilt!
Thanks for linking up to the Mad Skills Party!
That quilt is adorable!
Thanks for sharing @ Anything Related!
Great Tutorial. Love the quilt.
I remember a tied quilt my grandma made years ago. My brother and I used to fight over it! It was the warmest blanket in the house. Thanks for sharing … I’ve posted a link.
Adorable!
So sweet – I just have to get around to making a quilt! Thanks for linking to Craftastic Monday:)
The quilt looks lovely. Great work, something to be proud of. I’m sure it is a lot harder than you make it look. Have a great weekend!
From the 3 sisters 365,
Natasha, Stacey and Holly
Hi Ashley!
I appreciate your help so much! Thank you again!!
And thank you for sharing my garden party invitation!
Have an awesome weekend!
Sharon
What a cute baby quilt. I have never tried quilting but you make it look so easy =) Have a great weekend! Stephanie Lynn
How cute! Thanks for linking up your fabulous tutorial to Hoo’s got talent!
How sweet! You make it look easy girl!
Thanks for planting your creative seeds at Plant a Punkin Seed Party! Come back again on Friday!
Kristi
Punkin Seed Productions