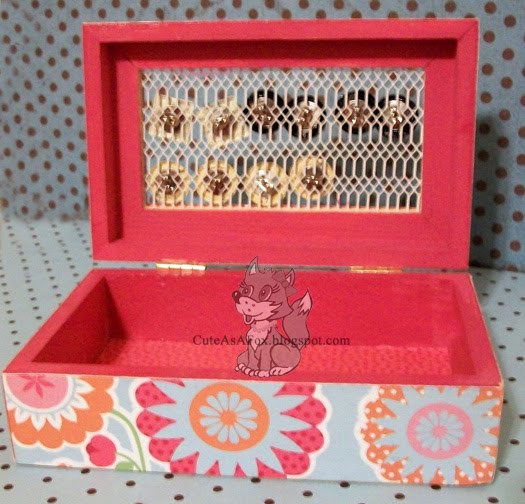
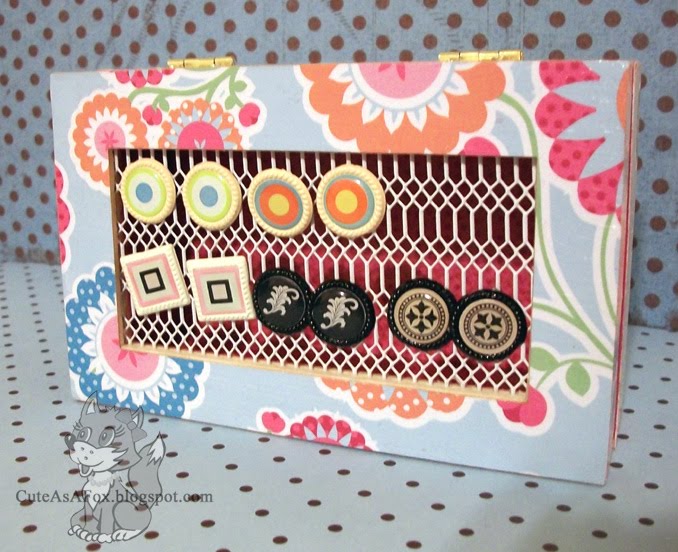
I bet you will never guess where I picked up this cute little unfinished wood box! That’s right, Dollar Tree! I loved the screening on the top. Right away I had a plan… a Jewelry Box and I could use that mesh for an earring holder.
- Wooden jewelry box
- Coordinating papers. Mine was two sided.
- Paint in a coordinating color
- Mod Podge
- Screwdriver to remove and reattach the hardware
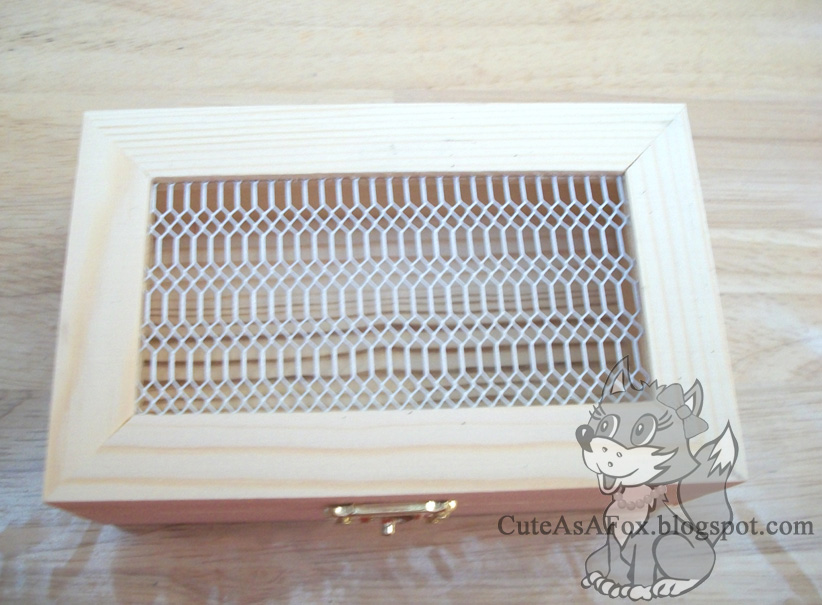
All of the boxes with the screening on top had a messed up lock. No worries, we will just take it off. I may try to find a replacement closure at some point, but for now the box stays closed on its own, so I may just leave it.
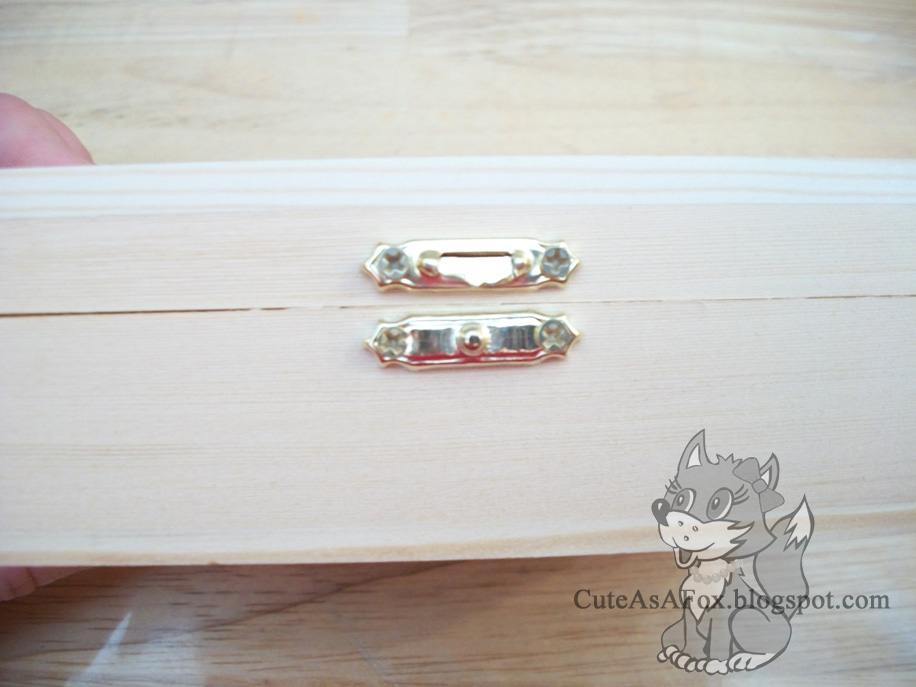
Step 1: Remove the hardware from the box. This includes 2 hinges, and the front lock.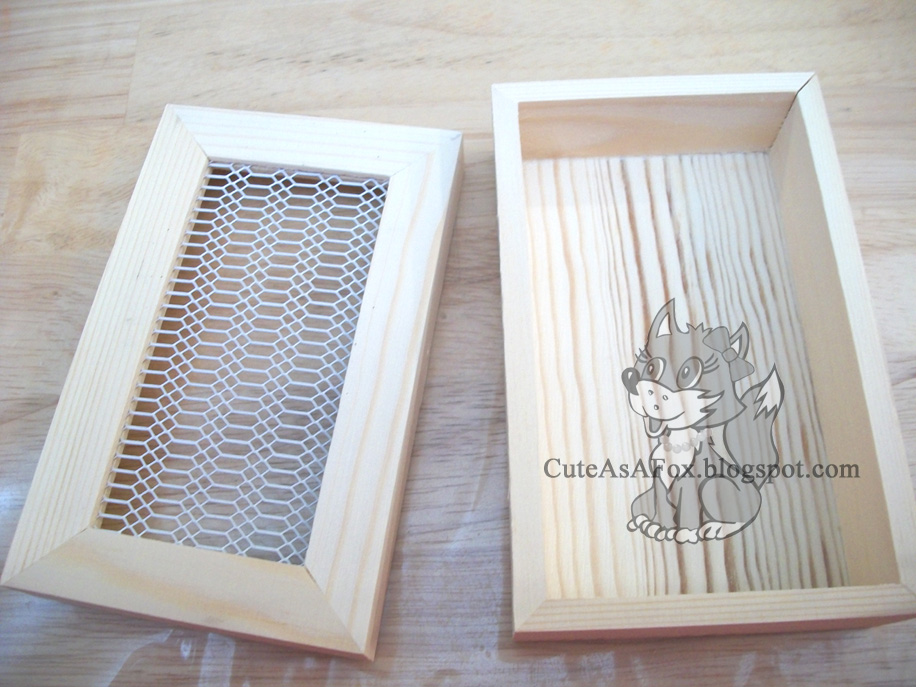
Step 2. Paint anywhere you will not be using Mod Podge. I painted the inside of the lid, and the insides of the bottom.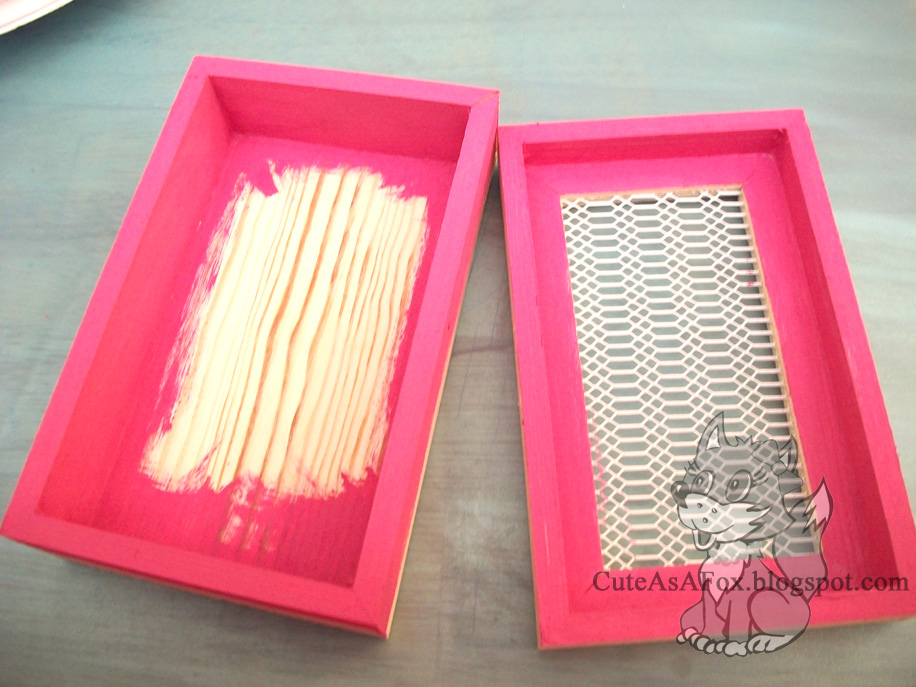
Step 3. Measure and cut your paper to fit the sides and inside bottom. Take care to make sure your lid piece matches up with the corresponding side on the bottom. You’ll see what I mean in the finished picture. (Scroll down if you need.)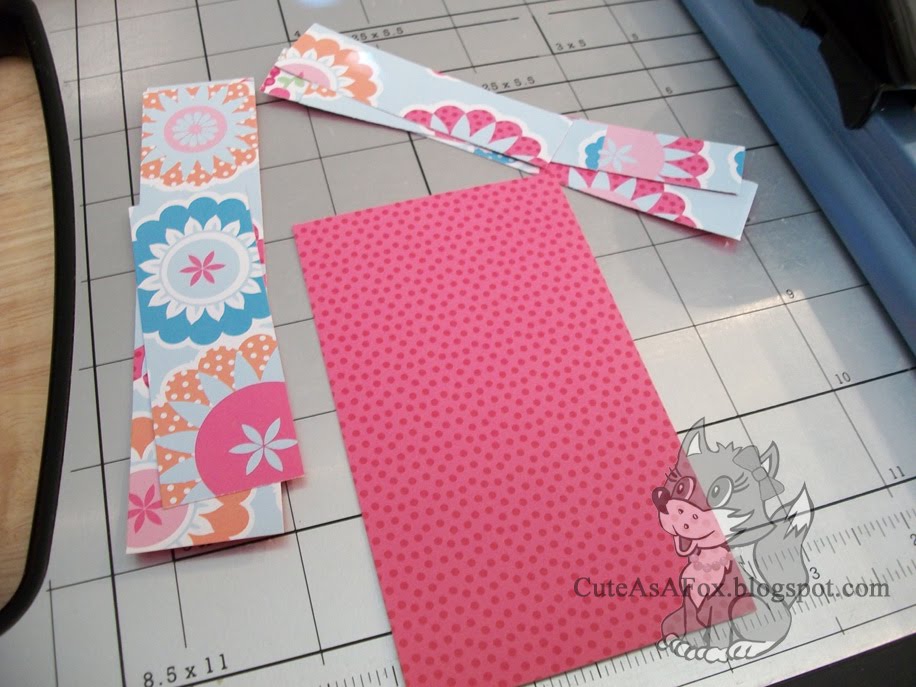
Step 4: Mod Podge your papers on to the sides. Trim any bits that stick over with an Exacto knife.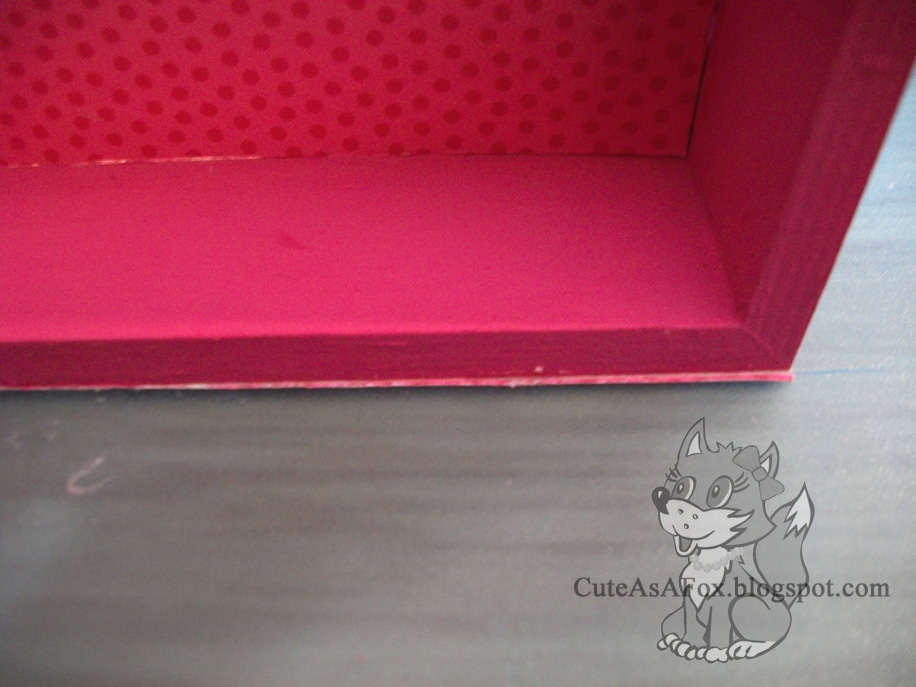
Step 5: I used my laser to cut the top piece, but you could use a Cricut machine with Sure Cuts a Lot to do it digitally. You could also just put the paper down and trace so you know where to cut.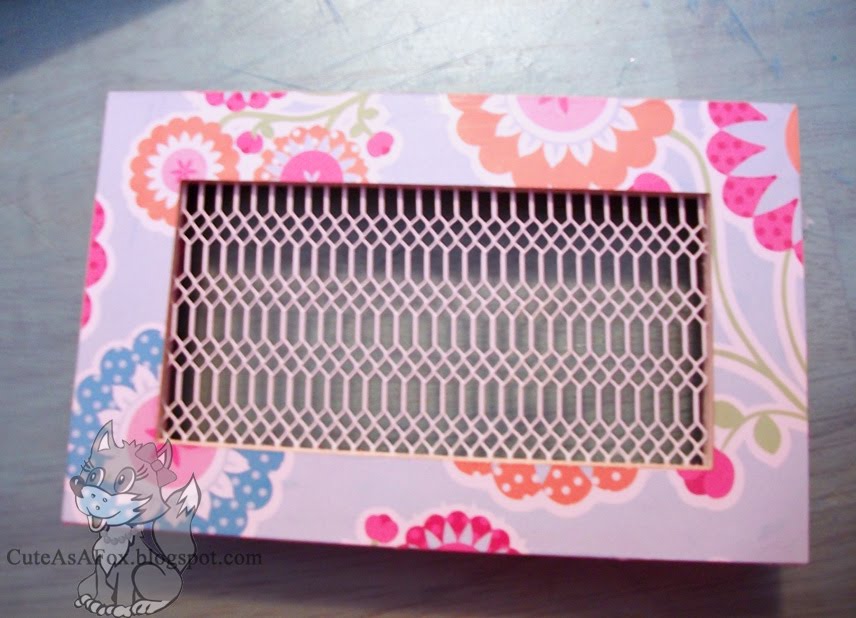
Step 6: After you get all the paper on, coat everything with a last coat of Mod Podge to seal it up nice.
Step 7. Let your jewelry box dry a nice long time.
Step 8. Reattach your hinges on the box. In my case, I asked the hubs to do it. He has a lot more patience for things like that. You want the lid to sit nice and flat so you might have to do some tweaking here and there.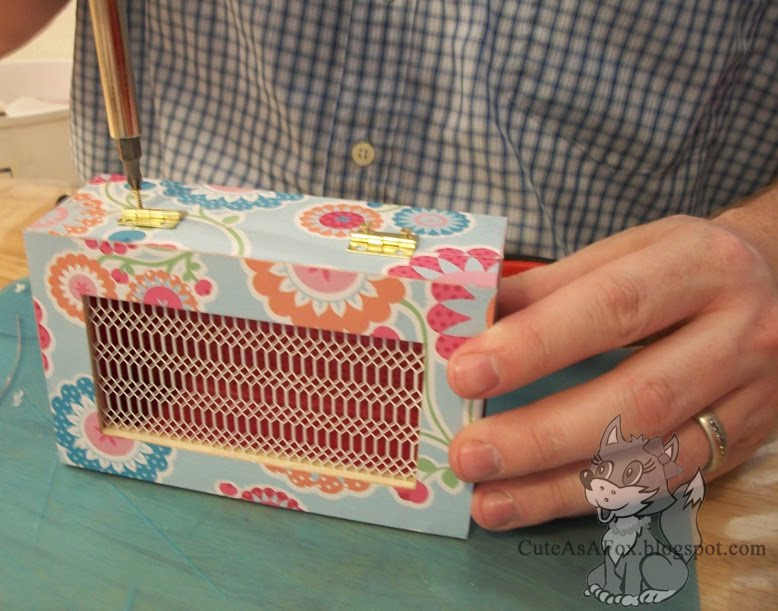
Step 9: Put some earrings in your jewelry box and your done! I Love, love, LOVE it!
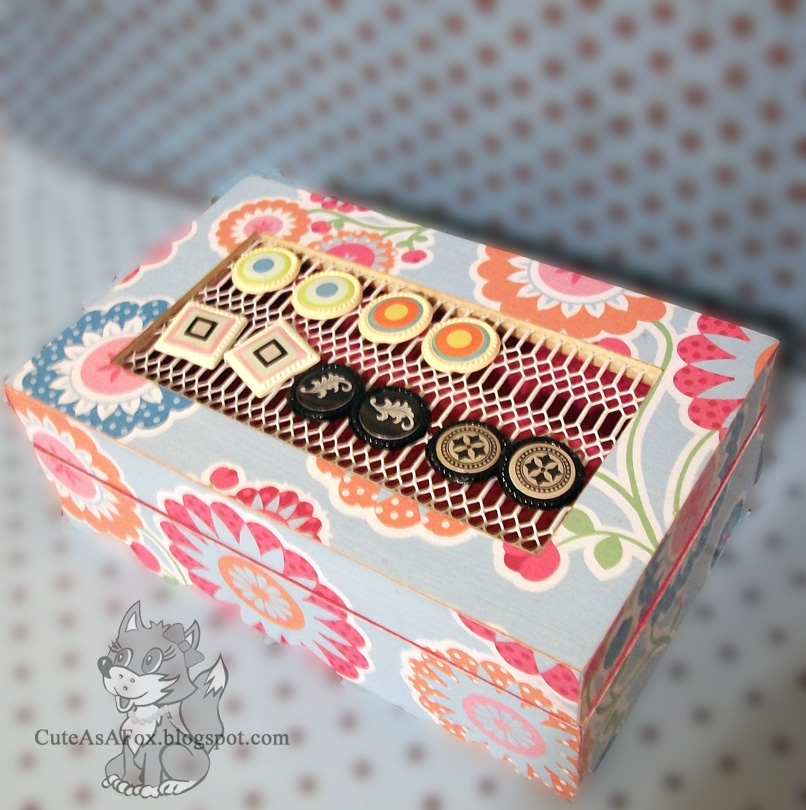 Oh and do you like the earrings? I’ll be having a tutorial for those coming up later this week. You just might be surprised by what they are and how easy they are to make!


This is a great idea! I love that you thought to use the mesh for earrings.
Found you on Craftastic Monday at Sew Can Do…
Really cute! I’ll have to go see if my Dollar Tree has one! Thanks for sharing 🙂
This is just toooo cute! Thanks for the inspiration.I have just the right box to do this.
Diane
Love it! Super Cute 🙂 I adore handmade items. They’re so original. I love homemade altogether!
http://livingonhomemade.blogspot.com
Super cute box!!! Hey Ashley, it’s Julie from It’s Sew Stinkin’ Cute and I am awarding you the Versatile Blogger Award. Please view my site to view the details of the award and pass it along to your newest finds and favorite blogs. Congrats!!!
Great idea & I love the colors you chose (I’m a little biased since I have that same paper on the wall in my craft room – hehe). Thanks for linking to Craftastic Monday!
That super cute! I love the colors!
so cute! lovely blog.
nicole visiting from
http://lettersfromcoco.blogspot.com/
That is fantastic. I bet it would make cute graduation gift for a niece graduating from high school too!
Thanks for linking up to the Mad Skills party!
Oh what a great DIY project. You are one clever and crafty girl.
I just finished a project that took 23 years to complete.
Come take a peek.
So cute! You’ve just given me an idea of what I can do for my daughter for her birthday.
Cute! Thanks for linking up to Anything Related!
~Bridgette
This is SUCH a fun idea, Ashley!! I want one for me!!
You are so creative! I always enjoy your dollar store projects. This turned out so cute! Thanks for linking it to Hoo’s got talent!
What?! The Dollar Tree what a find! I love this you did a great job would love to try it myself if I could find a similar box, they don’t get much fancier than tupperware with the snappy lids at my dollar tree 🙁
You made Dollar Tree proud! Thanks for sharing and see you next week! Rory
That turned out amazing!
Thanks for linking up with Sugar & Spice.
cute. I have been needing to find a better place to keep my jewelery. I like your box and you can’t beat dollar tree!
Totally adorable! I love the mesh for the earings! 🙂
Great box!! I’m hearing so much about finds at the Dollar Tree. Don’t think we have those in Oz!!
I am linking!
http://mypassionsforfashions.blogspot.com/2010/05/terrific-thrifty-thursday-6.html
I have a jewerly box similar to that, and I might have to give it a try.. I love it.
Thanks for joining Get Your Craft on Thursday at Life As Lori. Please join me next week for another great party.
That turned out very cute indeed!
This turned out so cute! I can’t believe you found the box at the dollar store.
I’m hosting a blog party on Saturday and I’d love it if you linked up! http://www.iamalongfortheride.blogspot.com
LOVE this! What a marvelous transformation!
Stopping in from Tatertots and Jello. Have a terrific weekend!
Cute!! Turned out great. Thanks for linking up.
Hi! Great tute! I will be linking at http://www.handmade-jewelry-club.com/ in future post.
Thanks!
Jane
http://diylessons.org/
http://www.handmade-jewelry-club.com/