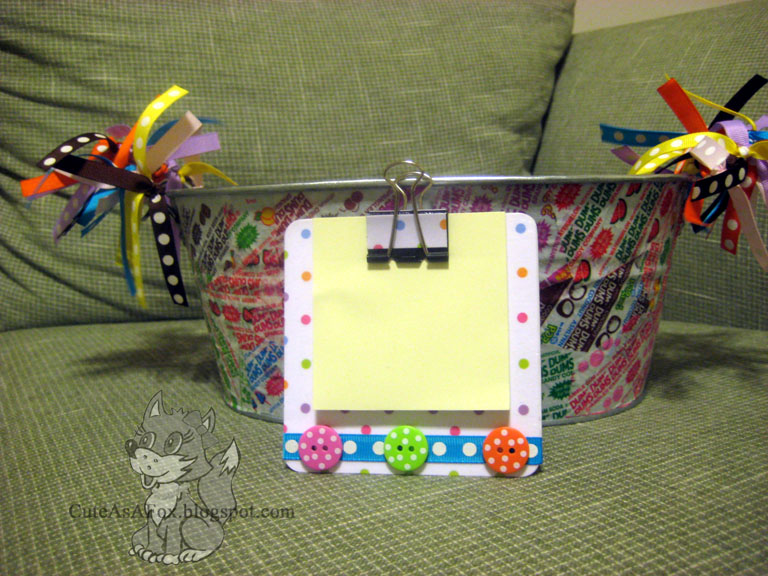
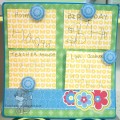
Jenn, The Creative Crafter asked how I made the Post-It Note Holder in my Back to School post. I made it PB(Pre-blog) so I don’t have photos of the step by step, but I would be happy to give you a run down of how I did it.
What you need:
- Coaster – Found mine at Dollar Tree. I saw the identical ones there today as well. They are a thick chipboard.
- Scrapbook Paper
- Binder Clip
- Mod Podge
- Stuff to Embellish – ribbon, buttons, etc.
- Magnet for back of coaster
Step 1. Cut your paper to fit the size of the coaster
Step 2. Apply a coat of Mod Podge to the paper and apply to the coaster.
Step 3. After the coaster has dried, apply a top coat of mod podge.
Step 4. Embellish how you like. I used ribbon and buttons because the post it pads were quite a bit smaller than the coaster.
Step 5. Cut paper to fit on the sides and top of your binder clip.
Step 6. Mod Podge the paper on to the binder clip.
Step 7. When everything has dried clip on a post it pad using the binder clip.
Step 8. Apply a magnet to the back of the coaster. You may need some of the thicker strong magnets to get it hold up on a refrigerator.
Thanks for asking, Jenn! Now, head on over and check out Jenn’s blog. She is brand new to blogging and wouldn’t it be great to give her some encouragement and comment love.
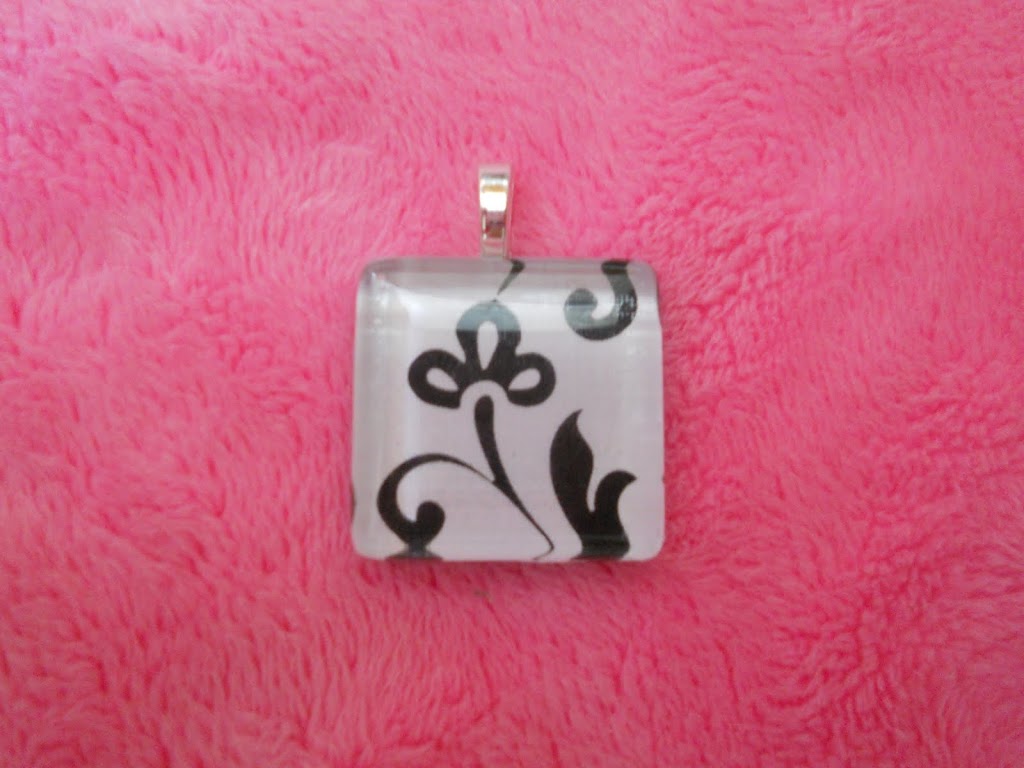
Check out this glass pendant she made. I love it!


I am loving these right now. I just made a post it note holder too. Really makes my life easier. No more rummaging around, looking for these post it notes in a drawer. Yours is so cute and would make a great gift. Here is mine…..
http://creationsbyladeeda.blogspot.com/2010/07/note-worthy-craft-project.html
I always check out your cute blog!
LOVE this! I am going to get the things I need tonight to give this a try!
Thank you so much for posting to my Blog!!!
You rock!!!