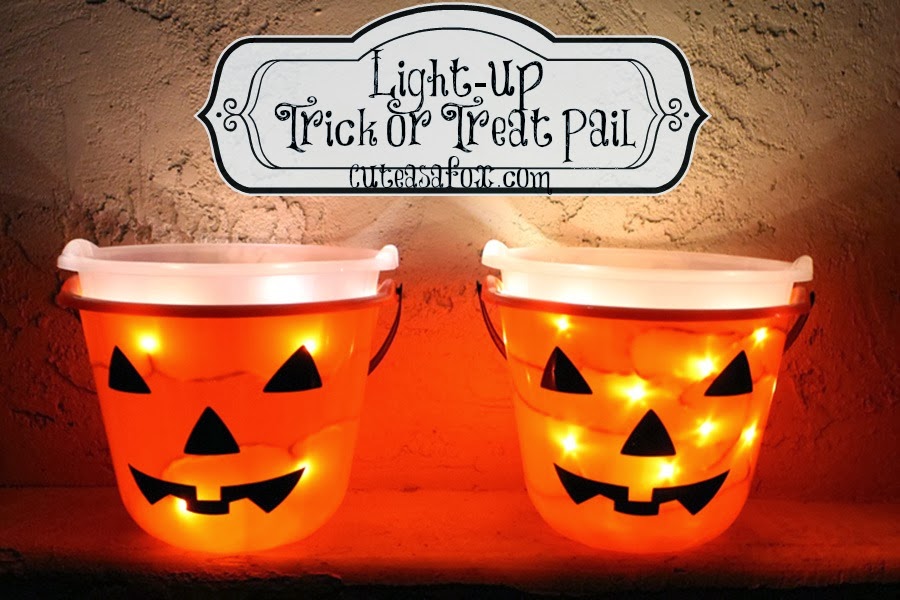
When Halloween merchandise first started showing up in stores, I heard some people talk about light-up trick or treat buckets. I couldn’t find any but it sounded like something that would be fun to try and create myself. I eventually did find some in the store, but they were a lot smaller than a standard trick or treat pail so I decided to go ahead and make my own.
They were quite simple to create and they make a big impact. We did a trunk or treat and every single car was commenting on how they wanted a light-up candy bucket too. The only real trick here is to find buckets that will nest and it helps if you can find a glow in the dark bucket for the inside layer. It really lets the light through well.
Light-up Trick or Treat Pail
Supplies:
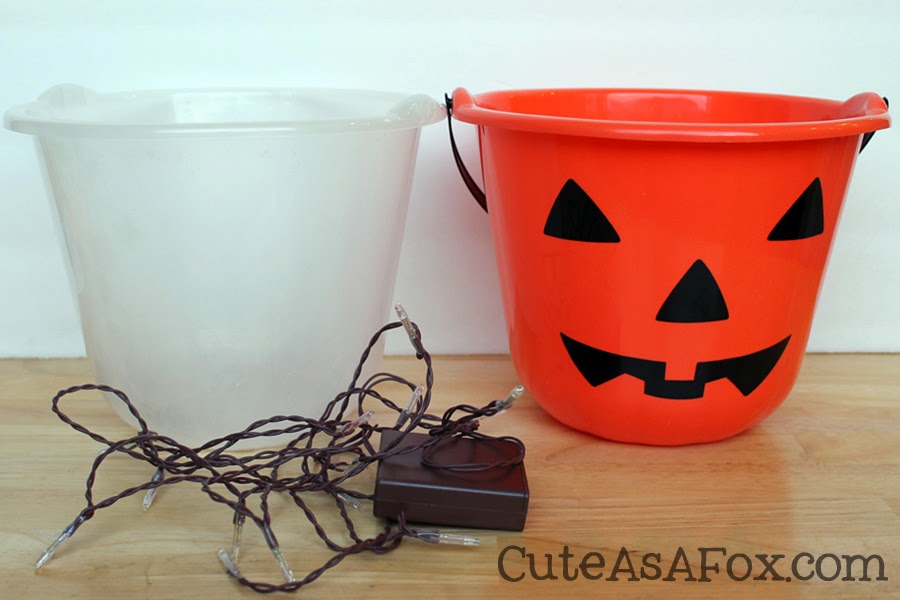
- 2 trick or treat pails that can stack inside each other. One should be glow in the dark.
- Pure Acetone – to remove the painted design
- Drill
- 1 set battery operated LED lights
- Clear Tape
- Use Pure Acetone and cotton balls to remove the design from the glow in the dark pail. You don’t want to have to worry about the design showing through.
- Remove the handle from the glow in the dark bucket.
- Drill a small hole in the bottom of the glow in the dark bucket. You want the hole large enough to fit the light cord and one LED at a time.
- Place the LED battery pack inside the glow in the dark pail and feed the lights and cord through the hole.
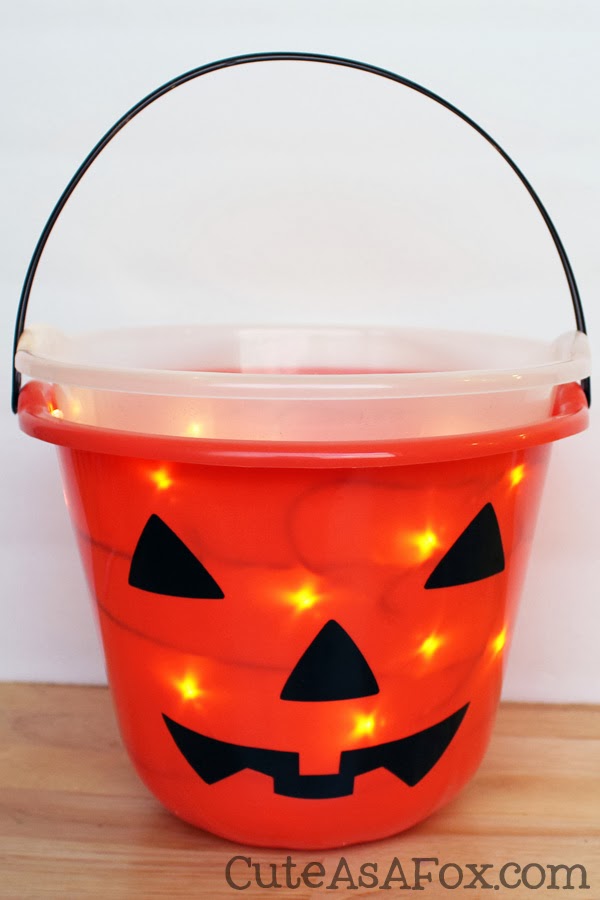
- Tape the LED lights in place around the bucket. Stack the buckets back together. Push down so the buckets fit snugly together, but not so hard that you crack the buckets!
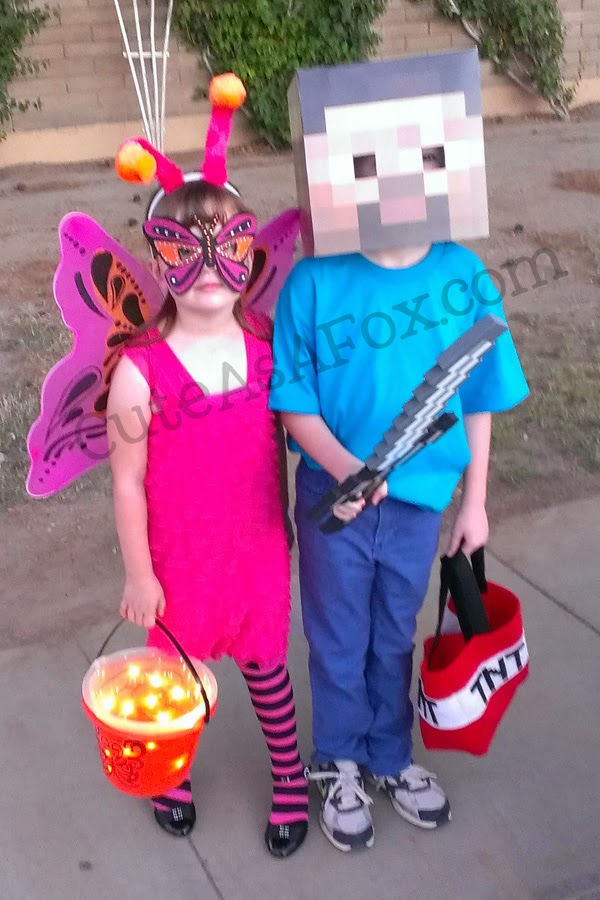
You will probably spend a little bit of time playing with the light placement. I found it was best to leave about 2 inches at the top without any LEDs. I also used two different light strands. The bucket on the left was a strand of 9 nights and the bucket on the right was 18 lights. If I had it to over again, I would buy these LED lights from Amazon. The lights are much smaller and the two buckets would probably fit together even better.
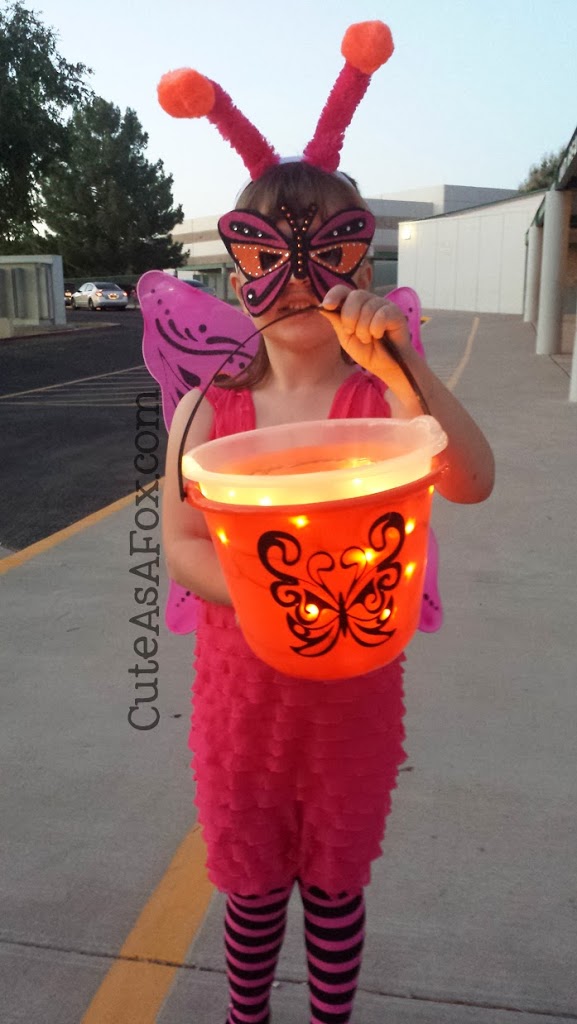
My daughter decided she needed her bucket to match her costume. In order to accomplish that I used the pure acetone to remove the pumpkin face on the orange bucket. I cut a vinyl butterfly design with my Silhouette and applied it.
I think it turned out very cute and fun. I love how easy it is going to be to spot exactly where she is at any time on Halloween night. If you give this a try, please let me know. I would love to see how your trick or treat buckets turn out.







Cute idea! I’m paranoid about knowing where my child is in the dark while we trick or treat, so this would help ease my mind. I might just have to whip one up before Halloween! We’ll be featuring this over at Someday Crafts tomorrow.
Thanks so much! That’s really exciting.
That’s amazingly adorable! I know I won’t have the energy to whip one of these up tomorrow, but maybe next year…. love the idea!
We will have to do this next year. What a great idea!
Oh my goodness, what a fun idea! Def. will do next year 🙂