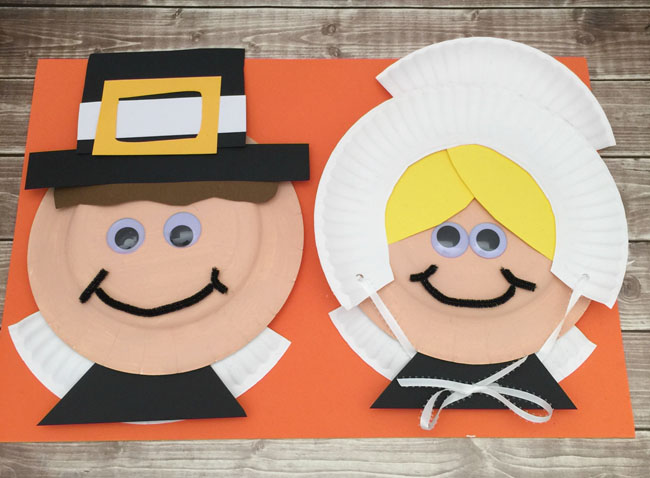
Today I’m bringing you a super fun Thanksgiving craft idea. Pilgrim paper plates are the perfect activity to keep the kids busy while the turkey is in the oven and there is chaos going on in the kitchen. The best part is that they are made from common and inexpensive craft items. Many of them you probably have around the house already.
SUPPLIES NEEDED
Two dessert plates for the face
Flesh colored craft paint
Paintbrush
Two white paper plates
Hole puncher
White ribbon
Four large googly eyes
One black pipe cleaner
One black construction paper
One yellow construction paper
One gold construction paper
One brown construction paper
One white construction paper
Scissors
Glue stick
HOW TO ASSEMBLE
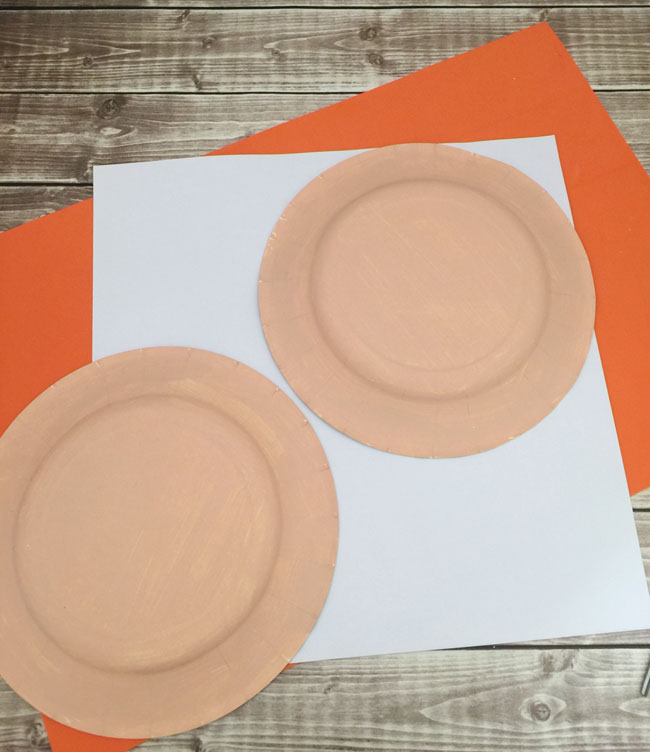
1. Paint each dessert plate with the flesh colored paint and let dry for at least 30 minutes.
2. Cut out a brown rectangle from construction paper, the length of the dessert plate, to resemble the pilgrim mans’ hair. Feel free to cut a few waves into one side. With a glue stick, glue on top of the man pilgrim plate.
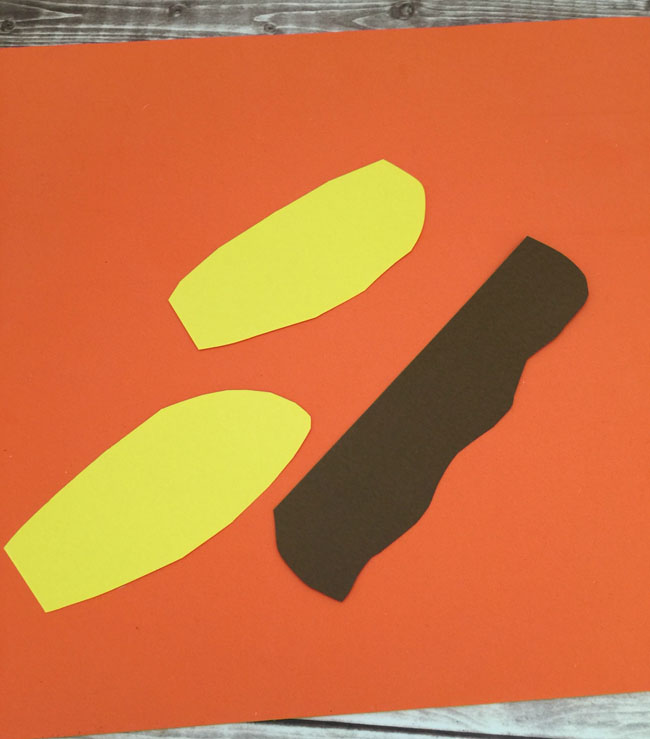
3. Cut out 2 pieces of yellow construction paper in the shape of large petals. With a glue stick, glue on the top of the lady pilgrim plate to resemble her hair.
4. Take the white paper plates and cut the inside circles out, leaving just the scalloped rim in place.

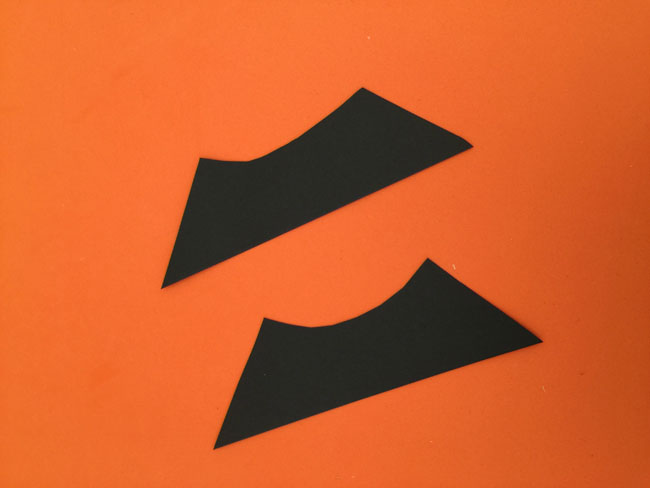
5. Cut out 2 triangles from the black construction paper, with the base of the triangle at least 3 inches long. Set aside the remaining black paper for the man’s pilgrim hat.
6. Cut off 1/4 of the scalloped rim from each paper plate. These will be the pilgrim collars. Glue each black triangle onto the middle of each collar.
7. Glue each collar (with the black triangle attached) to the bottom of each face/plate.
8. The remaining 3/4 piece of one of the scalloped rims will be the lady pilgrims hat. Glue this piece (upside down in a U shape) on top of her head.
9. Take the other remaining piece of paper plate rim and cut 1/3 of it off and glue it on top of the lady’s hat to resemble a bonnet. Discard the remaining rim piece.
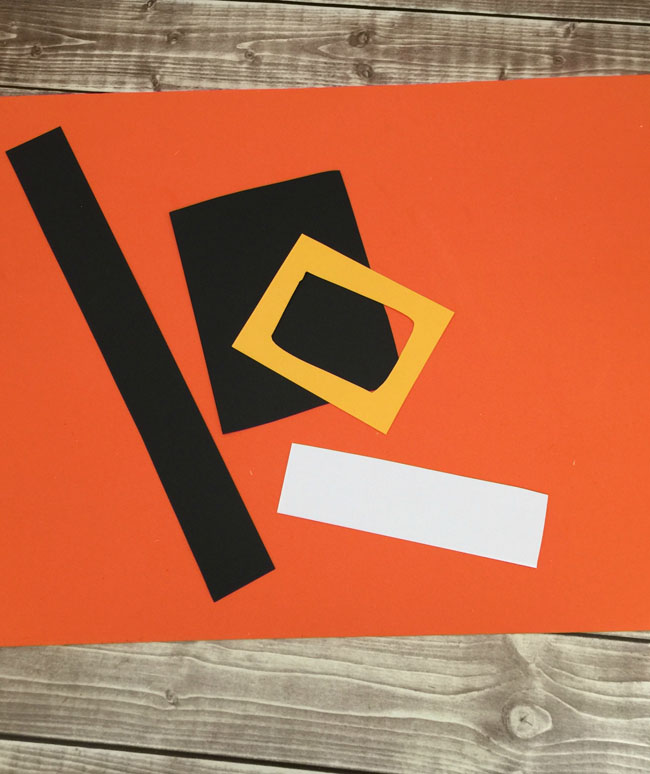
10. For the man pilgrim hat – cut out a large square and rectangle from the black construction paper. Glue the rectangle at the base of the square.
11. Cut out a long rectangle from the white construction paper. Its length should equal the length of the black square piece of the hat. Glue on the hat.
12. Using a sheet of gold construction paper, cut out a square for the buckle on the hat. Cut out the inside of the square. Glue the gold buckle over the white strip on the hat.
13. With a whole puncher, punch a hole at the bottom of each side of the lady pilgrims’ bonnet. Punch another hole in the middle of her black top.
14. Lace the white ribbon through the two bonnet holes and tie a bow through the hole in the top.

15. Cut the black pipe cleaner in half. Take each half piece and cut an inch piece off each end. Glue onto each pilgrim face for the smile.
16. Glue the googly eyes onto each Pilgrim face.
When you write it out step by step, it soudns like a lot of work, but I promise it’s not bad. This is one of those crafts where you could set the kids loose with the craft supplies and just see what kind of unique pilgrims they come up with. It would be fun to individualize each pilgrim and use them for place settings too!



Leave a Reply